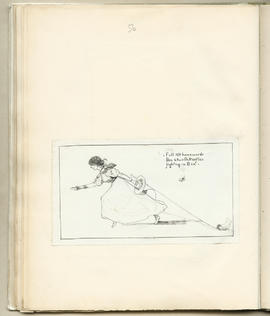
The Magazine: Volume 3 (Page 62)
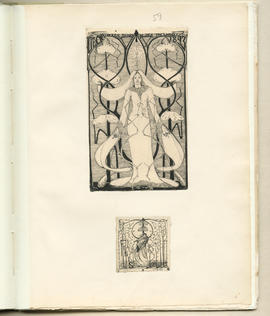
The Magazine: Volume 3 (Page 65)

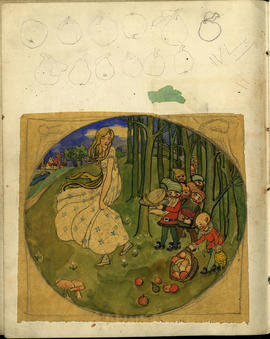
The Magazine: Volume 3 (Page 69)
Papers of Dorothy Doddrell
Papers of Dorothy Doddrell
Artworks
Artworks
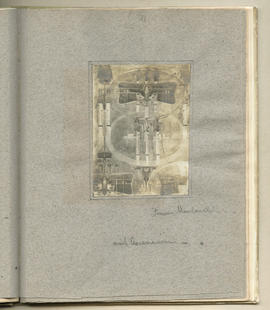
Architectural study
Architectural study
Sketchbook
Sketchbook
Sketchbook
Sketchbook
Sketchbook
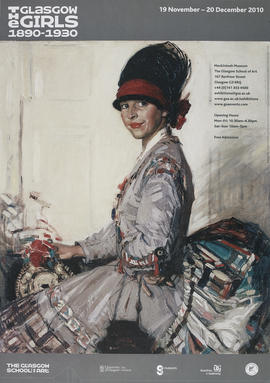
Poster for an exhibition of the work of The Glasgow Girls, 1890-1930
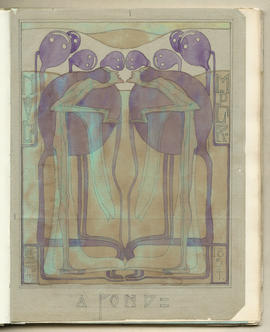
A Pond

Poster for an exhibition of paintings by Jock MacInnes
![Poster for 'Glasgow Group, 29[th] Annual Exhibition: Paintings - Print - Sculpture', Glasgow](/catalogue/uploads/r/the-glasgow-school-of-art-archives-and-collections/a/2/0/a20536e83d594cc781c3f8eafda224aba485f4eac4c3bd01071eed7dc6fc010c/GSAA_EPH_0010_0310_142.jpg)
Poster for 'Glasgow Group, 29[th] Annual Exhibition: Paintings - Print - Sculpture', Glasgow
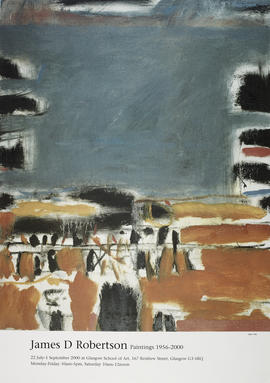
Poster for exhibition 'James D. Robertson Paintings 1956-2000', Glasgow
The Magazine: Volume 2 (Page 2)
The Magazine: Volume 2 (Page 2)
The Magazine: Volume 2 (Page 5)
The Magazine: Volume 2 (Page 5)
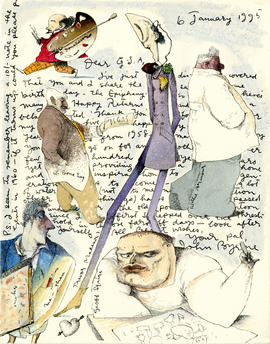
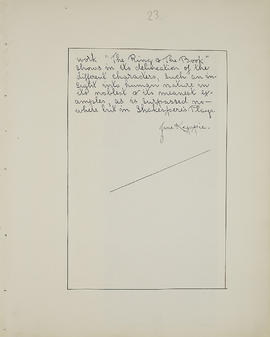
Letter of congratulations to The Glasgow School of Art from John Byrne, artist
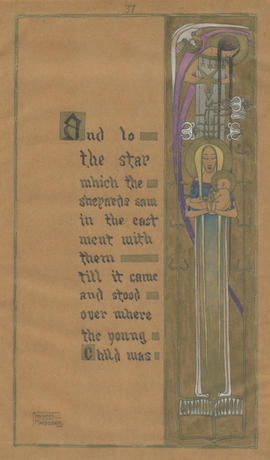
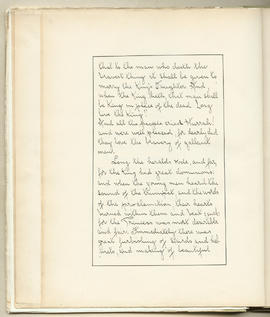
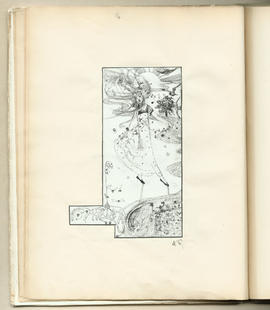
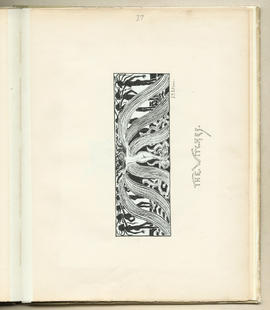
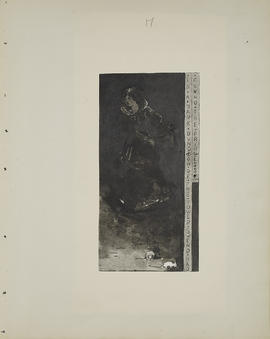
The Nativity ('And lo the star...')
The Magazine: Volume 1 (Page 1)
The Magazine: Volume 1 (Page 4)
The Magazine: Volume 1 (Page 15)
The Magazine: Volume 1 (Page 24)

The Magazine: Volume 1 (Page 32)
The Magazine: Volume 1 (Page 35)
The Magazine: Volume 2 (Page 1)
The Magazine: Volume 2 (Page 9)
The Magazine: Volume 2 (Page 12)

The Magazine: Volume 2 (Page 13)
The Magazine: Volume 2 (Page 16)
The Magazine: Volume 2 (Page 21)
The Magazine: Volume 2 (Page 24)
The Magazine: Volume 2 (Page 28)
The Magazine: Volume 2 (Page 38)
The Magazine: Volume 2 (Page 39)
The Magazine: Volume 2 (Page 43)
The Magazine: Volume 2 (Page 44)

The Magazine: Volume 2 (Page 47)

The Magazine: Volume 2 (Page 51)
The Magazine: Volume 2 (Page 53)
The Magazine: Volume 2 (Page 60)

The Magazine: Volume 2 (Page 64)

The Magazine: Volume 2 (Page 65)
The Magazine: Volume 3 (Page 1)
The Magazine: Volume 3 (Page 5)

The Magazine: Volume 3 (Page 16)
The Magazine: Volume 3 (Page 17)
The Magazine: Volume 3 (Page 23)
The Magazine: Volume 3 (Page 29)
The Magazine: Volume 3 (Page 31)
The Magazine: Volume 3 (Page 32)