The Magazine: Volume 1 (Page 1)
The Magazine: Volume 1 (Page 4)
The Magazine: Volume 1 (Page 15)
The Magazine: Volume 1 (Page 24)

The Magazine: Volume 1 (Page 32)
The Magazine: Volume 1 (Page 35)
The Magazine: Volume 2 (Page 1)
The Magazine: Volume 2 (Page 9)
The Magazine: Volume 2 (Page 12)
The Magazine: Volume 2 (Page 13)
The Magazine: Volume 2 (Page 16)
The Magazine: Volume 2 (Page 21)
The Magazine: Volume 2 (Page 24)
The Magazine: Volume 2 (Page 28)
The Magazine: Volume 2 (Page 38)
The Magazine: Volume 2 (Page 39)
The Magazine: Volume 2 (Page 43)
The Magazine: Volume 2 (Page 44)
The Magazine: Volume 2 (Page 47)
The Magazine: Volume 2 (Page 51)
The Magazine: Volume 2 (Page 53)
The Magazine: Volume 2 (Page 60)
The Magazine: Volume 2 (Page 64)

The Magazine: Volume 2 (Page 65)
The Magazine: Volume 3 (Page 1)
The Magazine: Volume 3 (Page 5)
The Magazine: Volume 3 (Page 16)
The Magazine: Volume 3 (Page 17)
The Magazine: Volume 3 (Page 23)
The Magazine: Volume 3 (Page 29)
The Magazine: Volume 3 (Page 31)
The Magazine: Volume 3 (Page 32)
The Magazine: Volume 3 (Page 34)
The Magazine: Volume 3 (Page 36)
The Magazine: Volume 3 (Page 42)
The Magazine: Volume 3 (Page 53)
The Magazine: Volume 3 (Page 54)
The Magazine: Volume 3 (Page 56)
The Magazine: Volume 3 (Page 60)
The Magazine: Volume 3 (Page 63)
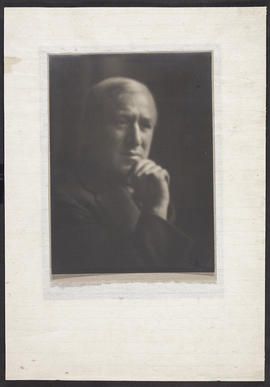
Portrait of Charles Rennie Mackintosh
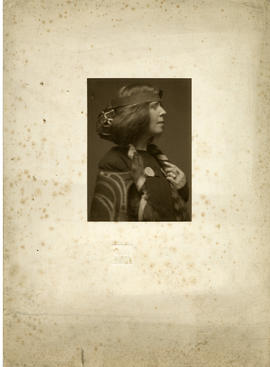
Portrait of Margaret Macdonald Mackintosh (Version 1)
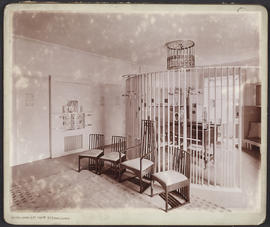
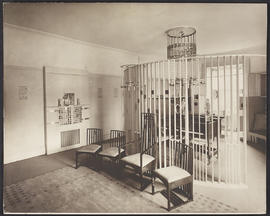
Interior of Hous'hill, Glasgow - the drawing room
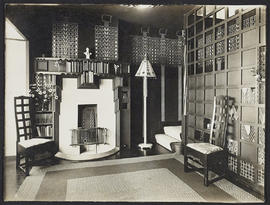
Interior of Hous'hill, Glasgow - the music room
Interior with two chairs, fireplace and lampshade
Beaten brass sconce
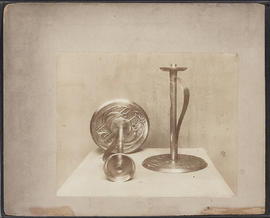
Two candlesticks
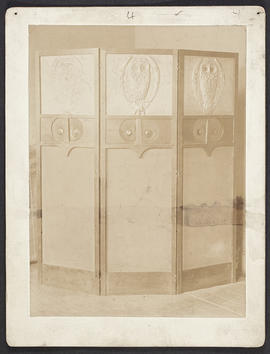
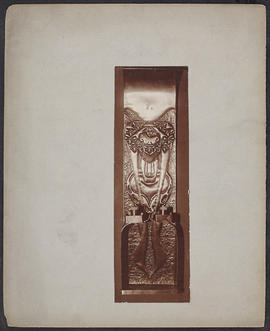
Owl screen

Wall hanging clock
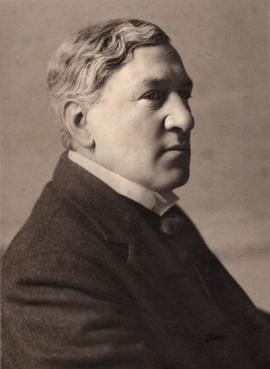
Portrait of Charles Rennie Mackintosh