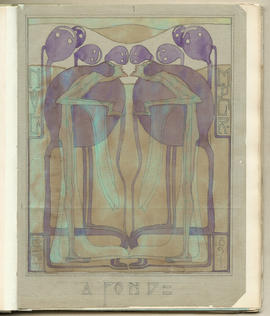
The Magazine: Volume 1 (Page 7)
- MC/A/15/1/p7
- Part
- 1893
The Magazine: Volume 1 (Page 7)
The Magazine: Volume 1 (Page 11)
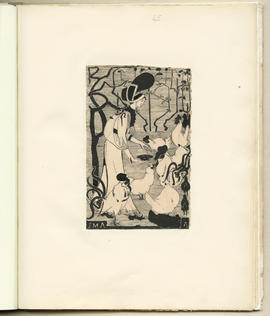
The Magazine: Volume 1 (Page 13)
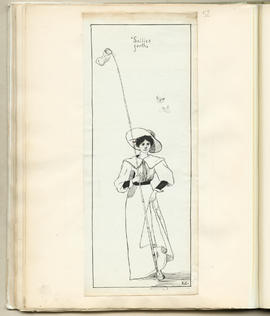
The Magazine: Volume 1 (Page 14)
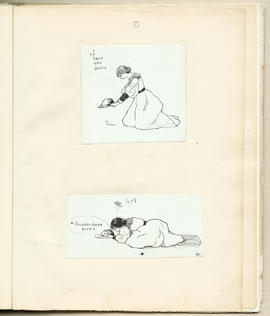
The Magazine: Volume 1 (Page 19)
The Magazine: Volume 1 (Page 22)
The Magazine: Volume 1 (Page 25)
The Magazine: Volume 1 (Page 26)
The Magazine: Volume 1 (Page 28)
The Magazine: Volume 1 (Page 33)
The Magazine: Volume 1 (Page 40)
The Magazine: Volume 2 (Page 7)
The Magazine: Volume 2 (Page 10)
The Magazine: Volume 2 (Page 11)
The Magazine: Volume 2 (Page 14)
The Magazine: Volume 2 (Page 17)
The Magazine: Volume 2 (Page 18)

The Magazine: Volume 2 (Page 22)
The Magazine: Volume 2 (Page 25)
The Magazine: Volume 2 (Page 30)
The Magazine: Volume 2 (Page 34)
The Magazine: Volume 2 (Page 40)
The Magazine: Volume 2 (Page 42)
The Magazine: Volume 2 (Page 56)
The Magazine: Volume 2 (Page 62)
The Magazine: Volume 2 (Page 63)
The Magazine: Volume 3 (Page 4)
The Magazine: Volume 3 (Page 7)
The Magazine: Volume 3 (Page 8)
The Magazine: Volume 3 (Page 13)
The Magazine: Volume 3 (Page 20)
The Magazine: Volume 3 (Page 28)
The Magazine: Volume 3 (Page 35)
The Magazine: Volume 3 (Page 38)
The Magazine: Volume 3 (Page 40)
The Magazine: Volume 3 (Page 45)
The Magazine: Volume 3 (Page 50)
The Magazine: Volume 3 (Page 51)
The Magazine: Volume 3 (Page 58)
The Magazine: Volume 3 (Page 61)
The Magazine: Volume 3 (Page 64)

The Magazine: Volume 3 (Page 66)
The Magazine: Volume 3 (Page 70)
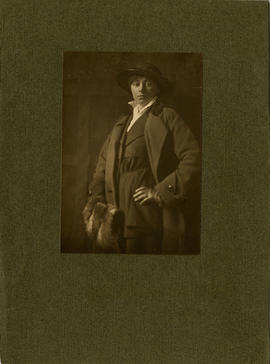
Photograph of Josephine Haswell Miller
The photograph features an image of Josephine Haswell Miller.
The reverse shows the text "Jessie Thomson 319 Sauchiehall St" stamped on the cardboard.
*Not available / given
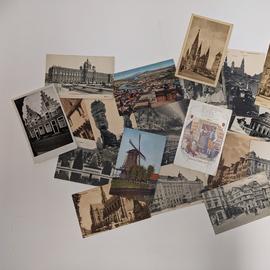
Collection includes:
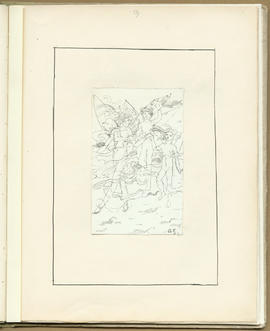
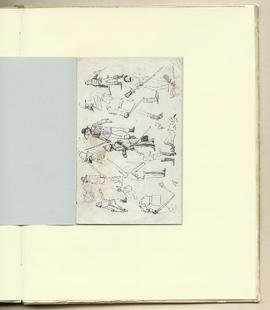
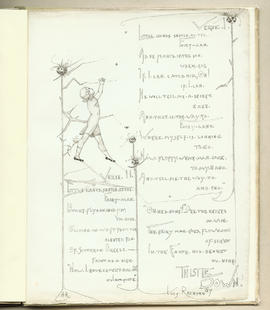
The collection also includes original illustrations drawn by A S Boyd (aka TWYM) and Stephen Reid, both noted Scottish illustrators.
Additional uncatalogued material includes
Please note that this material is not yet fully catalogued and therefore some items may not be accessible to researchers.
Hunter, William R
The Magazine: Volume 1 (Page 1)
The Magazine: Volume 1 (Page 4)
The Magazine: Volume 1 (Page 15)
The Magazine: Volume 1 (Page 24)

The Magazine: Volume 1 (Page 32)