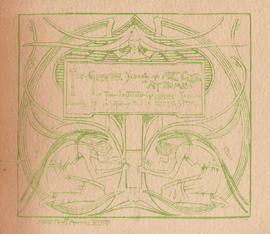
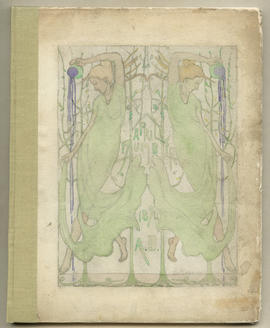
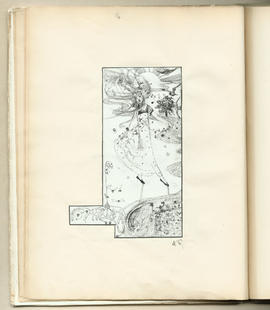
Design for a Glasgow School of Art Club 'Programme'
- MC/A/19
- Item
- 1893
Featuring two seated, semi-clothed female figures integrated amongst swirling plant forms.
Mackintosh, Margaret Macdonald
Design for a Glasgow School of Art Club 'Programme'
Featuring two seated, semi-clothed female figures integrated amongst swirling plant forms.
Mackintosh, Margaret Macdonald
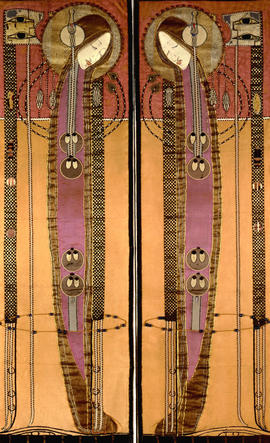
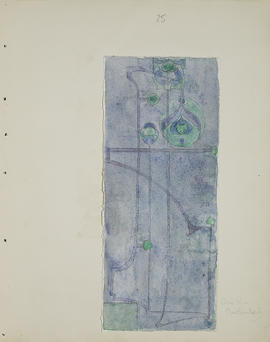
Similar panels appear in Mackintosh's drawings of the east wall of the principal bedroom at The Hill House although it is not certain when they were installed there as early photographs taken in 1904 do not show them. The panels appear to be duplicates of those shown at the Vienna Secession exhibition in 1900 and bought by Emil Blumenfelt; at least one of these (listed as a 'bed curtain') was lent by Blumenfelt to the Turin exhibition in 1902 - although it lacks the lower section of black silk seen on The Hill House panels.
Mackintosh, Margaret Macdonald
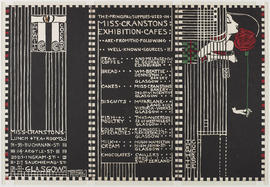
Menu for Miss Cranston's exhibition cafe, The White Cockade
The design lists the principal suppliers used by Miss Cranston in her exhibition cafe. The right hand side of the design features a stylised female figure holding a red rose.
Mackintosh, Margaret Macdonald
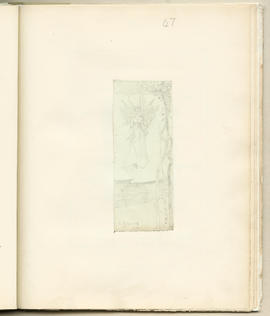
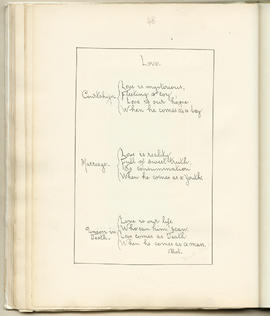
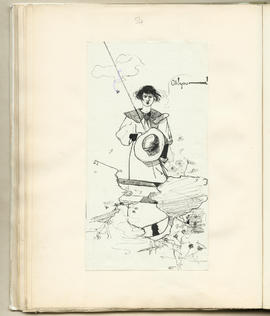
The Magazine: Volume 1 (Page 1)
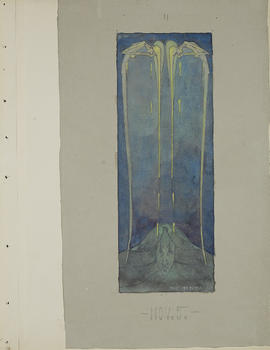
The Magazine: Volume 1 (Page 4)
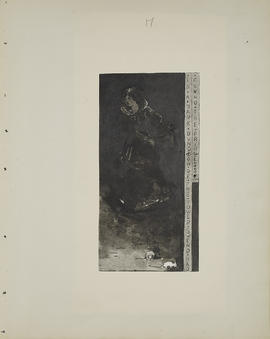
The Magazine: Volume 1 (Page 15)
The Magazine: Volume 1 (Page 24)

The Magazine: Volume 1 (Page 32)
The Magazine: Volume 1 (Page 35)
The Magazine: Volume 2 (Page 1)
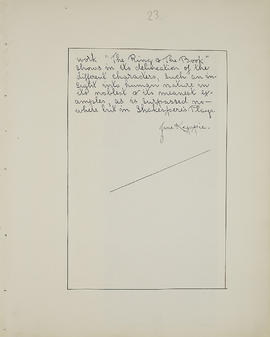
The Magazine: Volume 2 (Page 9)
The Magazine: Volume 2 (Page 12)

The Magazine: Volume 2 (Page 13)
The Magazine: Volume 2 (Page 16)
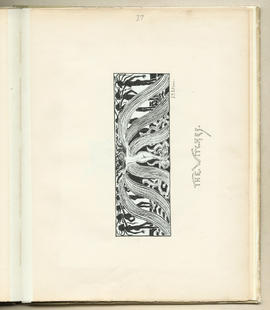
The Magazine: Volume 2 (Page 21)
The Magazine: Volume 2 (Page 24)
The Magazine: Volume 2 (Page 28)
The Magazine: Volume 2 (Page 38)
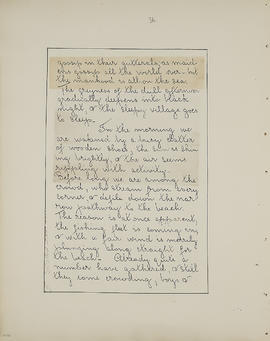
The Magazine: Volume 2 (Page 39)
The Magazine: Volume 2 (Page 43)
The Magazine: Volume 2 (Page 44)

The Magazine: Volume 2 (Page 47)
The Magazine: Volume 2 (Page 51)
The Magazine: Volume 2 (Page 53)
The Magazine: Volume 2 (Page 60)
The Magazine: Volume 2 (Page 64)

The Magazine: Volume 2 (Page 65)
The Magazine: Volume 3 (Page 1)
The Magazine: Volume 3 (Page 5)

The Magazine: Volume 3 (Page 16)
The Magazine: Volume 3 (Page 17)
The Magazine: Volume 3 (Page 23)
The Magazine: Volume 3 (Page 29)
The Magazine: Volume 3 (Page 31)
The Magazine: Volume 3 (Page 32)

The Magazine: Volume 3 (Page 34)
The Magazine: Volume 3 (Page 36)
The Magazine: Volume 3 (Page 42)
The Magazine: Volume 3 (Page 53)
The Magazine: Volume 3 (Page 54)
The Magazine: Volume 3 (Page 56)
The Magazine: Volume 3 (Page 60)
The Magazine: Volume 3 (Page 63)
The Magazine: Volume 1 (Page 6)
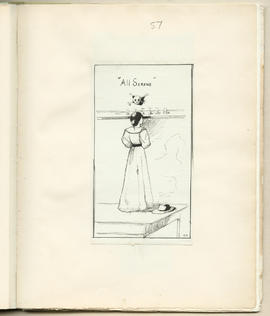
The Magazine: Volume 1 (Page 8)
The Magazine: Volume 1 (Page 9)
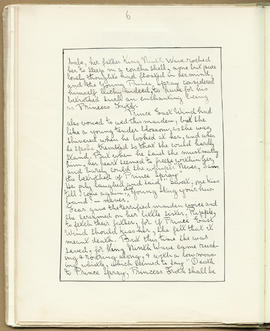
The Magazine: Volume 1 (Page 10)
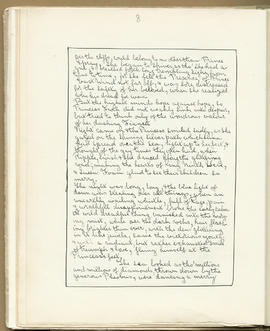
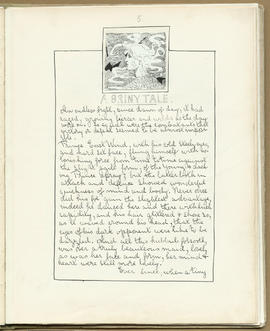
The Magazine: Volume 1 (Page 12)

The Magazine: Volume 1 (Page 17)