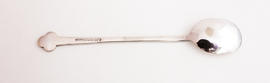
Tea spoon from Ingram Street Tea Rooms (Version 2)

Tea spoon from Ingram Street Tea Rooms (Version 3)
Caddy spoon from Ingram Street Tea Rooms (Version 3)
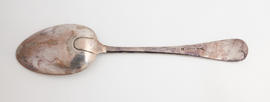
Dessert spoon from Ingram Street Tea Rooms (Version 2)

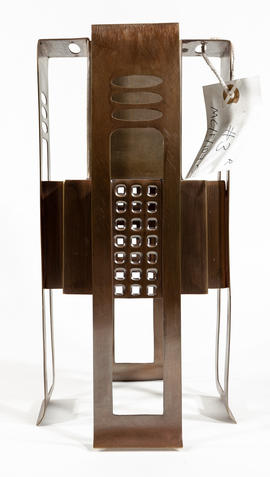
Writing desk for Gladsmuir (Version 4)
Writing desk for Gladsmuir (Version 7)
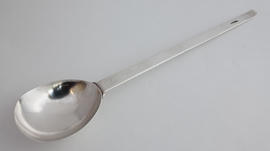
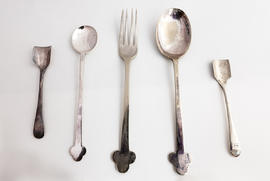
Soup spoon for Francis and Jessie Newbery (Version 1)
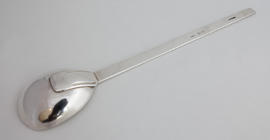
Soup spoon for Francis and Jessie Newbery (Version 2)
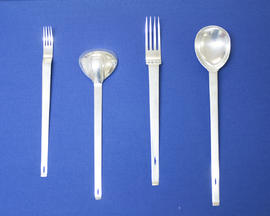
Dessert fork for Francis and Jessie Newbery (Version 3)
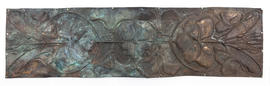
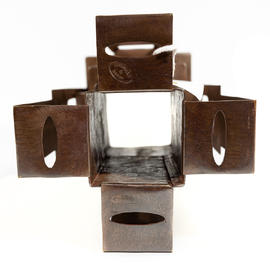
Lampshade for Library, Glasgow School of Art: Central Cluster- Reconstructed Small Canister (Version 4)
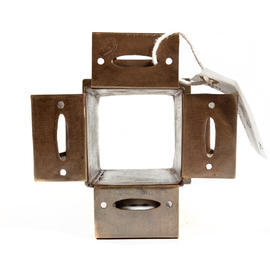
Lampshade for Library, Glasgow School of Art: Central Cluster- Reconstructed Small Canister (Version 6)
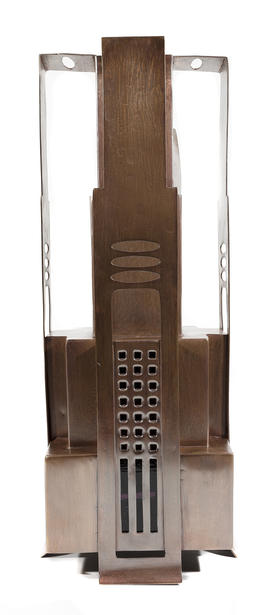
Lampshade for Library, Glasgow School of Art: Central Cluster- Composite Large Pendant (Version 1)
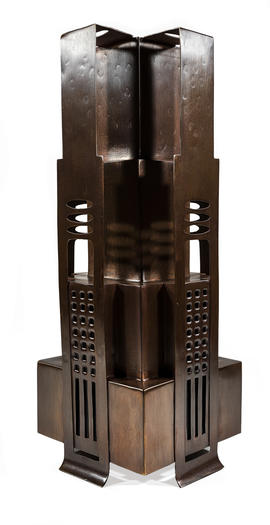
Lampshade for Library, Glasgow School of Art: Central Cluster- Composite Large Pendant (Version 2)
Lampshade for Library, Glasgow School of Art: Central Cluster- Composite Large Pendant (Version 6)
Low-back armchair for the Director's Room, Glasgow School of Art (Version 6)
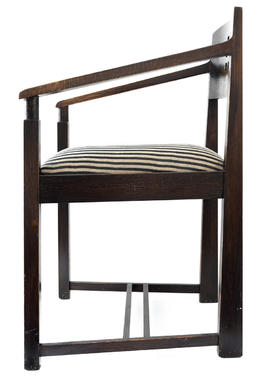
Armchair for the Board Room, Glasgow School of Art (Version 2)
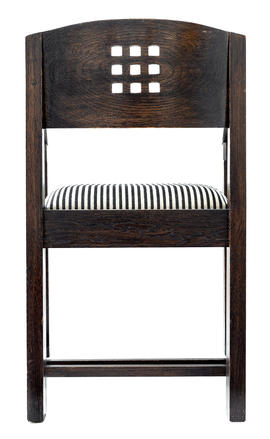
Armchair for the Board Room, Glasgow School of Art (Version 3)
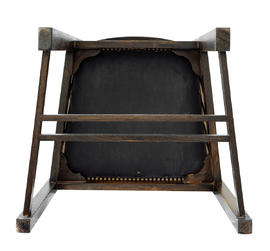
Armchair for the Board Room, Glasgow School of Art (Version 6)

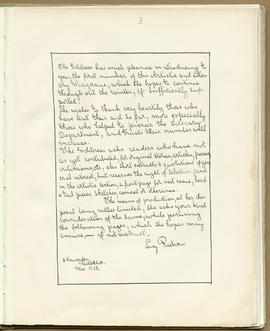
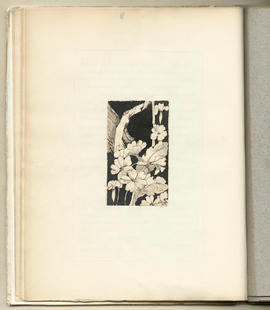
The Magazine: Volume 1 (Page 3)
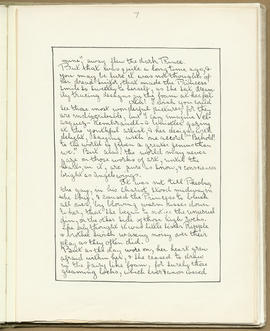
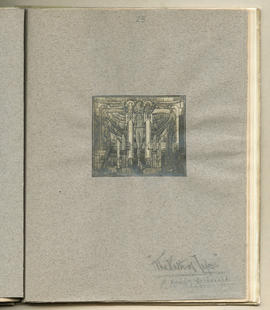
The Magazine: Volume 1 (Page 7)
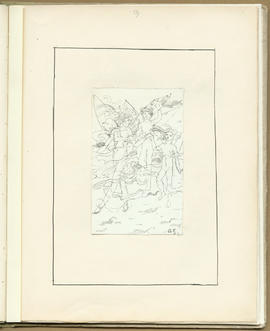
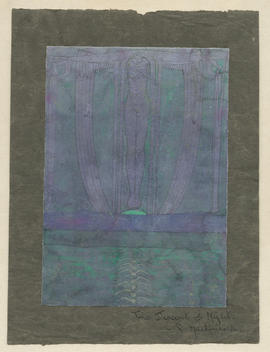
The Magazine: Volume 1 (Page 11)
The Magazine: Volume 1 (Page 13)

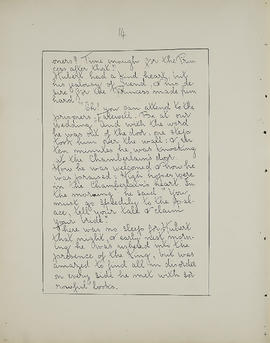
The Magazine: Volume 1 (Page 14)
The Magazine: Volume 1 (Page 19)
The Magazine: Volume 1 (Page 22)
The Magazine: Volume 1 (Page 25)
The Magazine: Volume 1 (Page 26)
The Magazine: Volume 1 (Page 28)
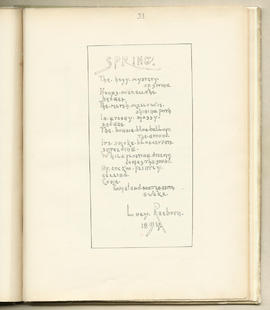
The Magazine: Volume 1 (Page 33)
The Magazine: Volume 1 (Page 40)
The Magazine: Volume 2 (Page 7)
The Magazine: Volume 2 (Page 10)
The Magazine: Volume 2 (Page 11)
The Magazine: Volume 2 (Page 14)
The Magazine: Volume 2 (Page 17)
The Magazine: Volume 2 (Page 18)

The Magazine: Volume 2 (Page 22)
The Magazine: Volume 2 (Page 25)
The Magazine: Volume 2 (Page 30)
The Magazine: Volume 2 (Page 34)
The Magazine: Volume 2 (Page 40)
The Magazine: Volume 2 (Page 42)
The Magazine: Volume 2 (Page 56)
The Magazine: Volume 2 (Page 62)
The Magazine: Volume 2 (Page 63)
The Magazine: Volume 3 (Page 4)
The Magazine: Volume 3 (Page 7)
The Magazine: Volume 3 (Page 8)
The Magazine: Volume 3 (Page 13)
The Magazine: Volume 3 (Page 20)