The Magazine: Volume 1 (Page 11)
The Magazine: Volume 1 (Page 13)
The Magazine: Volume 1 (Page 14)
The Magazine: Volume 1 (Page 19)
The Magazine: Volume 1 (Page 22)
The Magazine: Volume 1 (Page 25)
The Magazine: Volume 1 (Page 26)
The Magazine: Volume 1 (Page 28)
The Magazine: Volume 1 (Page 33)
The Magazine: Volume 1 (Page 40)
The Magazine: Volume 2 (Page 7)
The Magazine: Volume 2 (Page 10)
The Magazine: Volume 2 (Page 11)
The Magazine: Volume 2 (Page 14)
The Magazine: Volume 2 (Page 17)
The Magazine: Volume 2 (Page 18)

The Magazine: Volume 2 (Page 22)
The Magazine: Volume 2 (Page 25)
The Magazine: Volume 2 (Page 30)
The Magazine: Volume 2 (Page 34)
The Magazine: Volume 2 (Page 40)
The Magazine: Volume 2 (Page 42)
The Magazine: Volume 2 (Page 56)
The Magazine: Volume 2 (Page 62)
The Magazine: Volume 2 (Page 63)
The Magazine: Volume 3 (Page 4)
The Magazine: Volume 3 (Page 7)
The Magazine: Volume 3 (Page 8)
The Magazine: Volume 3 (Page 13)
The Magazine: Volume 3 (Page 20)
The Magazine: Volume 3 (Page 28)
The Magazine: Volume 3 (Page 35)
The Magazine: Volume 3 (Page 38)
The Magazine: Volume 3 (Page 40)
The Magazine: Volume 3 (Page 45)
The Magazine: Volume 3 (Page 50)
The Magazine: Volume 3 (Page 51)
The Magazine: Volume 3 (Page 58)
The Magazine: Volume 3 (Page 61)
The Magazine: Volume 3 (Page 64)

The Magazine: Volume 3 (Page 66)
The Magazine: Volume 3 (Page 70)
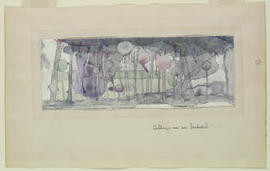
Cabbages in an Orchard
Winter
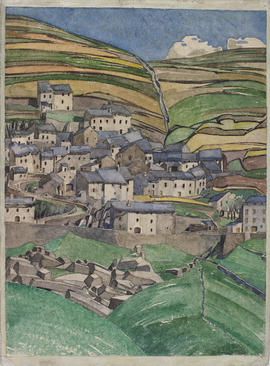
Slate Roofs
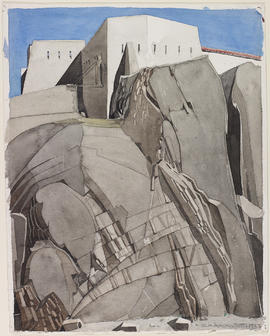
Le Fort Mailly
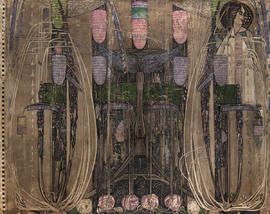
Wall hanging designed for The Dug-Out, Willow Tea Rooms, Glasgow
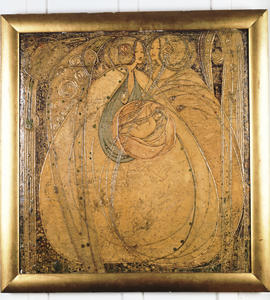
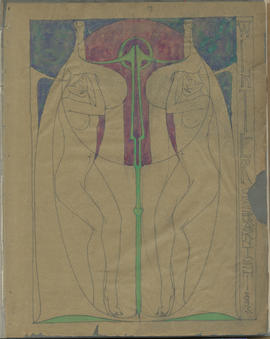
Heart of the Rose (Version 1)
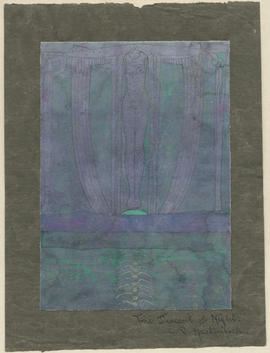
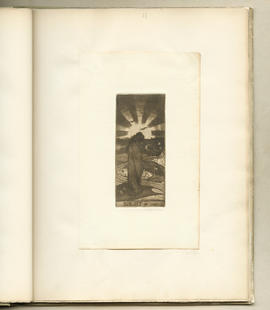
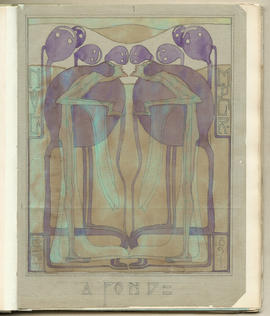
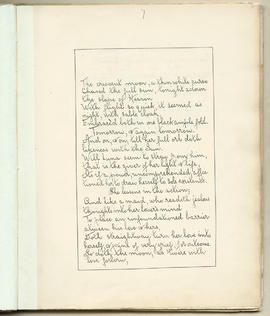
The Descent of Night
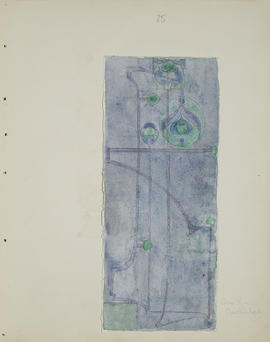
Stylised Plant Form