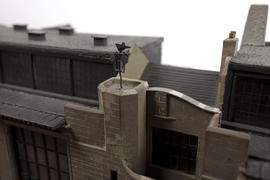
Model of the Glasgow School of Art (Version 3)
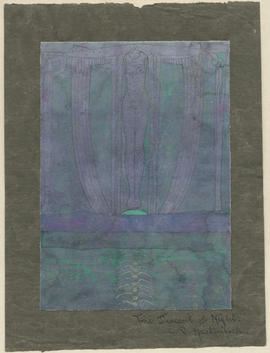
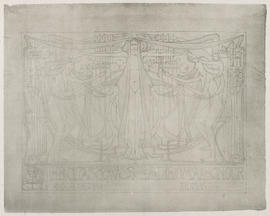
The Descent of Night
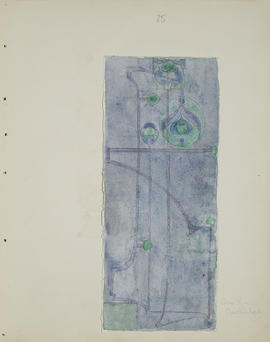
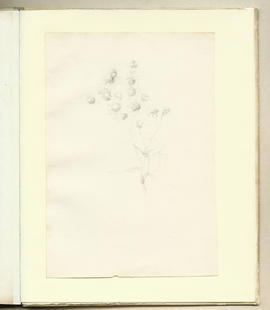
Stylised Plant Form
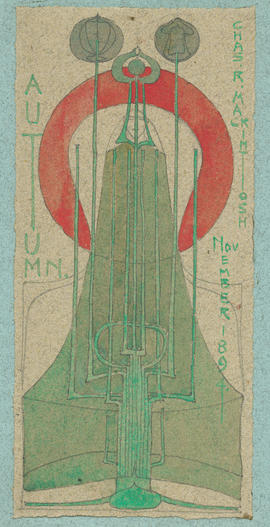
Autumn
Diploma of Honour
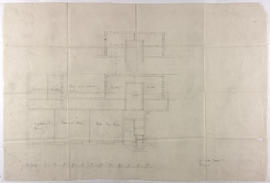
Design for Glasgow School of Art: plan of second floor

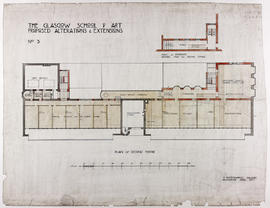
Design for Glasgow School of Art: plan of basement floor
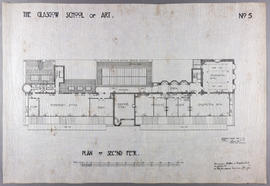
Design for Glasgow School of Art: plan of second floor
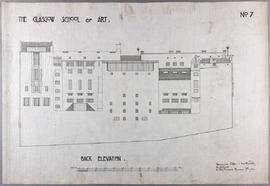
Design for Glasgow School of Art: back elevation
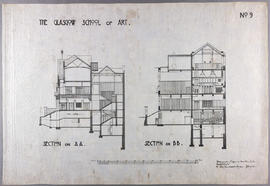
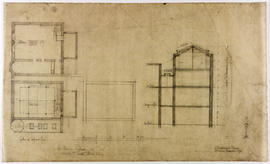
Design for Glasgow School of Art: section on line AA/section on line BB

Design for Glasgow School of Art: plan of sub-basement floor
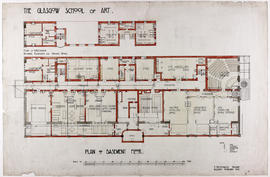
Design for Glasgow School of Art: plan of basement floor
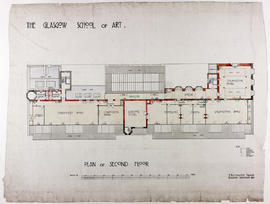
Design for Glasgow School of Art: plan of second floor
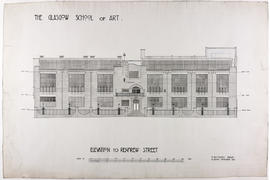
Design for Glasgow School of Art: elevation to Renfrew Street
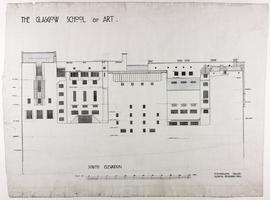
Design for Glasgow School of Art: south elevation
Design for Glasgow School of Art: plans for drainage
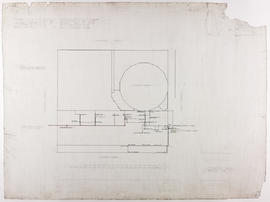
Design for Glasgow School of Art: plan of ground floor - East wing
Design for Glasgow School of Art: additions to South-East wing - lower centre
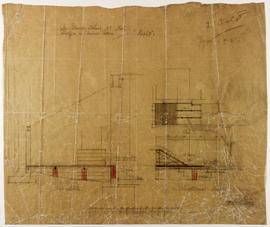
Design for Glasgow School of Art: platform in Animal Room
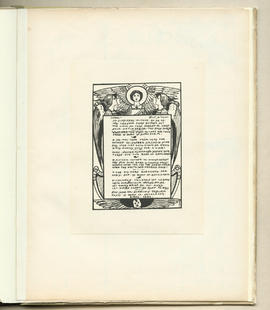
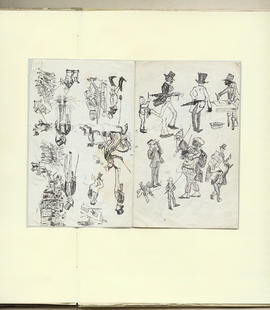
The Magazine: Volume 1 (Page 2)
The Magazine: Volume 1 (Page 5)
The Magazine: Volume 1 (Page 16)
The Magazine: Volume 1 (Page 18)
The Magazine: Volume 1 (Page 20)
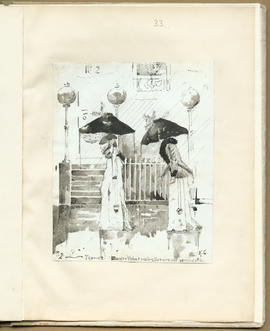
The Magazine: Volume 1 (Page 23)
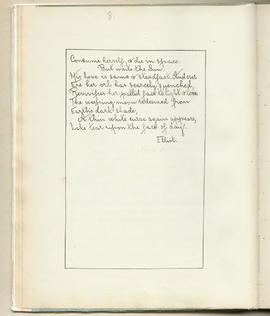
The Magazine: Volume 1 (Page 29)
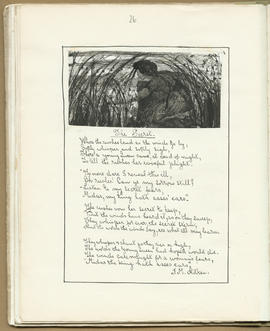
The Magazine: Volume 1 (Page 30)
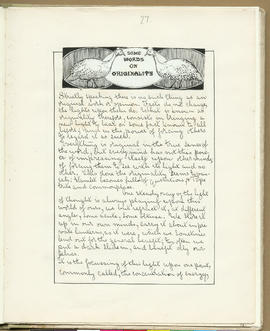
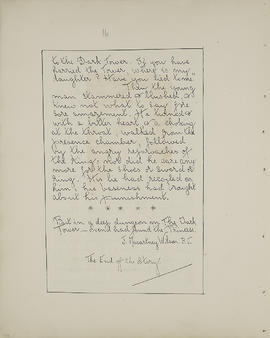
The Magazine: Volume 1 (Page 31)
The Magazine: Volume 1 (Page 37)
The Magazine: Volume 1 (Page 38)
The Magazine: Volume 1 (Page 39)
The Magazine: Volume 2 (Page 6)
The Magazine: Volume 2 (Page 20)

The Magazine: Volume 2 (Page 23)
The Magazine: Volume 2 (Page 26)
The Magazine: Volume 2 (Page 27)
The Magazine: Volume 2 (Page 29)
The Magazine: Volume 2 (Page 33)
The Magazine: Volume 2 (Page 36)
The Magazine: Volume 2 (Page 48)
The Magazine: Volume 2 (Page 49)
The Magazine: Volume 2 (Page 52)
The Magazine: Volume 2 (Page 54)
The Magazine: Volume 2 (Page 55)
The Magazine: Volume 2 (Page 57)
The Magazine: Volume 2 (Page 61)
The Magazine: Volume 3 (Page 2)
The Magazine: Volume 3 (Page 14)
The Magazine: Volume 3 (Page 15)
The Magazine: Volume 3 (Page 22)