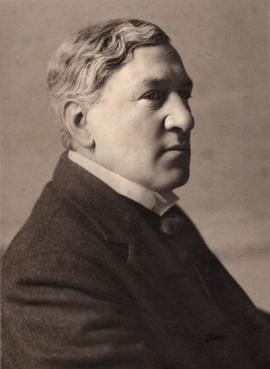
Portrait of Charles Rennie Mackintosh
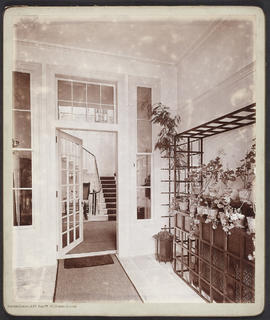
Interior of Hous'hill, Glasgow - entrance porch
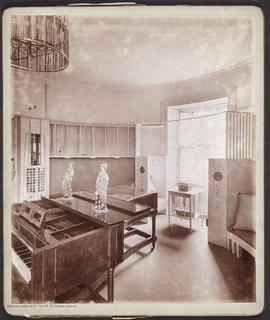
Interior of Hous'hill, Glasgow - the music room
Interior of Hous'hill, Glasgow - the blue bedroom
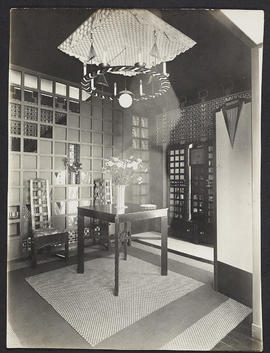
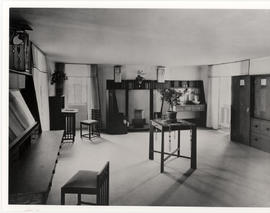
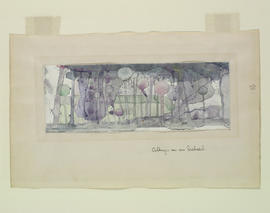
Interior with table, two chars and ceiling light

Ceiling light

Entrance drive showing front door
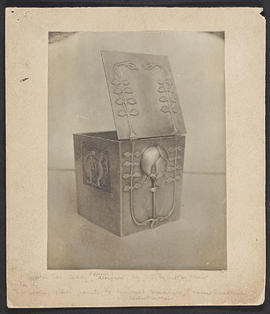
Tea Caddy
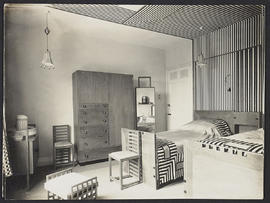
Striped bedroom
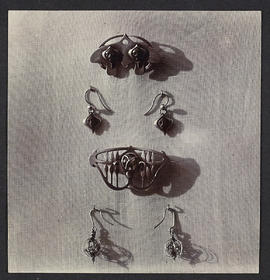
Two brooch and earring sets
The Magazine: Volume 1 (Page 6)
The Magazine: Volume 1 (Page 8)
The Magazine: Volume 1 (Page 9)
The Magazine: Volume 1 (Page 10)
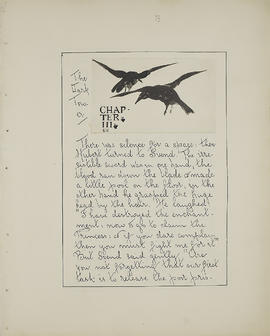
The Magazine: Volume 1 (Page 12)

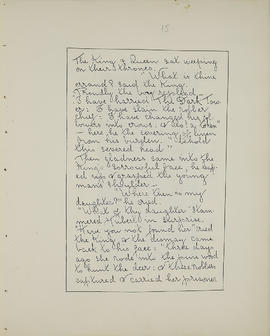
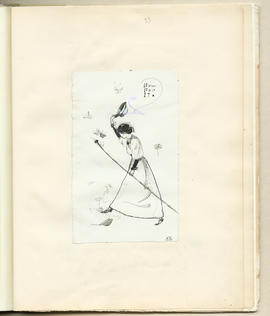
The Magazine: Volume 1 (Page 17)
The Magazine: Volume 1 (Page 21)
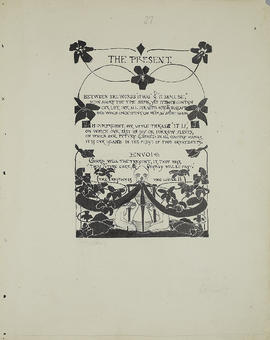
The Magazine: Volume 1 (Page 27)
The Magazine: Volume 1 (Page 34)
The Magazine: Volume 1 (Page 36)
The Magazine: Volume 2 (Page 8)

The Magazine: Volume 2 (Page 15)
The Magazine: Volume 2 (Page 19)

The Magazine: Volume 2 (Page 31)
The Magazine: Volume 2 (Page 32)
The Magazine: Volume 2 (Page 35)
The Magazine: Volume 2 (Page 37)
The Magazine: Volume 2 (Page 41)

The Magazine: Volume 2 (Page 45)
The Magazine: Volume 2 (Page 46)
The Magazine: Volume 2 (Page 58)
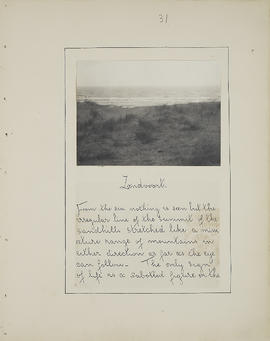
The Magazine: Volume 2 (Page 59)
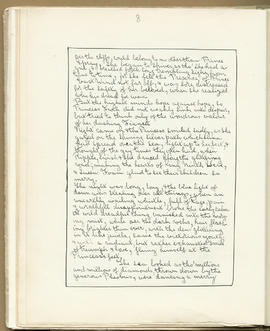
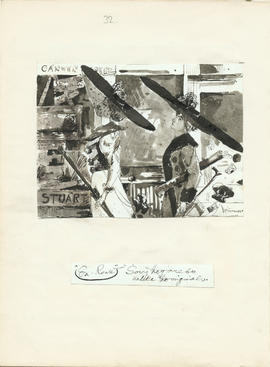
The Magazine: Volume 3 (Page 3)
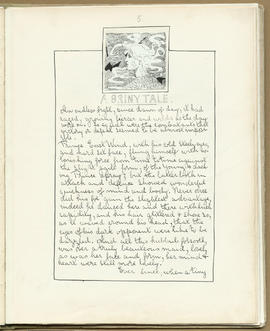
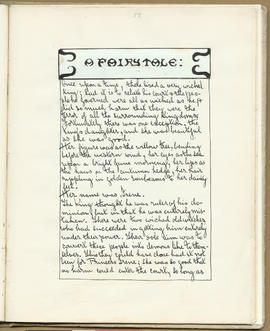
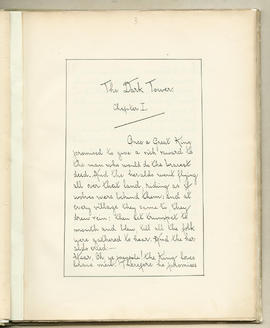
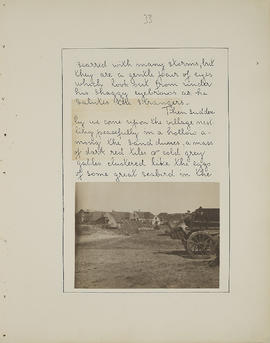
The Magazine: Volume 3 (Page 6)

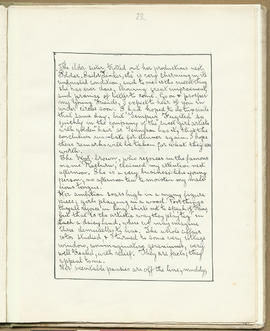
The Magazine: Volume 3 (Page 9)
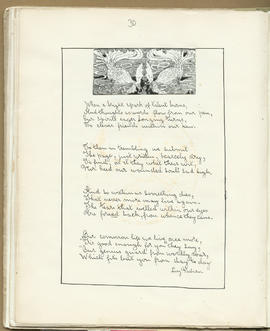
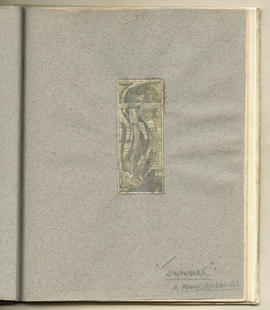
The Magazine: Volume 3 (Page 10)
The Magazine: Volume 3 (Page 11)
The Magazine: Volume 3 (Page 12)
The Magazine: Volume 3 (Page 18)
The Magazine: Volume 3 (Page 19)
The Magazine: Volume 3 (Page 21)

The Magazine: Volume 3 (Page 24)
The Magazine: Volume 3 (Page 25)
The Magazine: Volume 3 (Page 33)
The Magazine: Volume 3 (Page 37)
The Magazine: Volume 3 (Page 39)
The Magazine: Volume 3 (Page 47)
The Magazine: Volume 3 (Page 49)
The Magazine: Volume 3 (Page 59)
The Magazine: Volume 3 (Page 67)