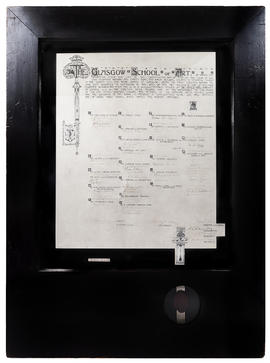
GSA illuminated manuscript

GSA Illuminated manuscript
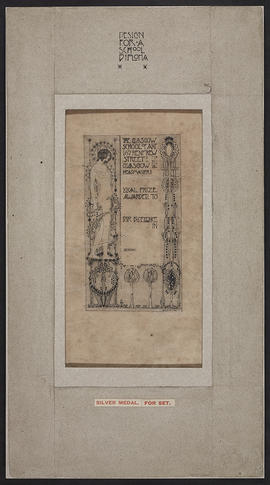
Design for a School Diploma
Diploma of Honour
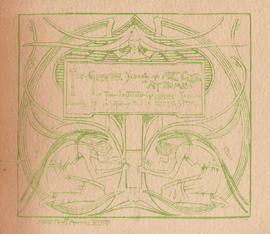
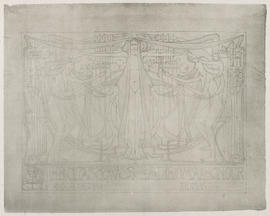
Design for a Glasgow School of Art Club 'Programme'
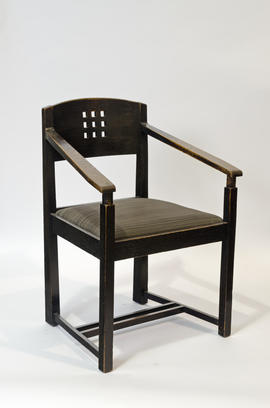
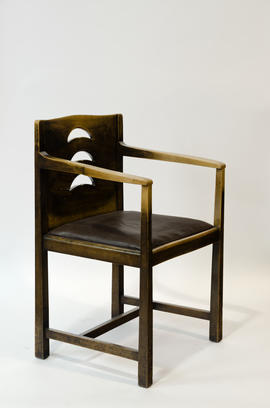
Low-backed armchair for the Director's Room, Glasgow School of Art
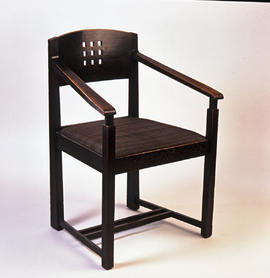
Low-backed armchair for the Director's Room, Glasgow School of Art
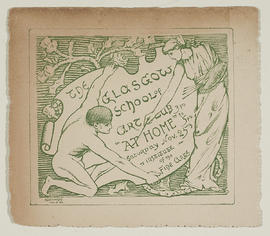
Design for a Glasgow School of Art Club 'Programme'
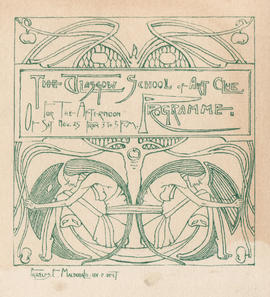
Design for a Glasgow School of Art Club 'Programme'
Low-backed armchair for Board Room, Glasgow School of Art
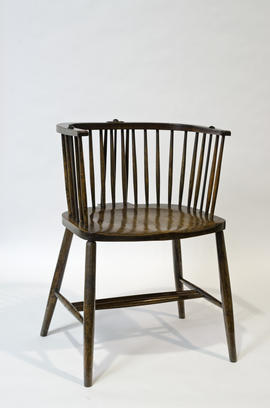
Windsor chair for the Library, Glasgow School of Art
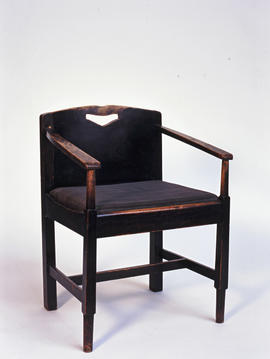
Armchair for Glasgow School of Art
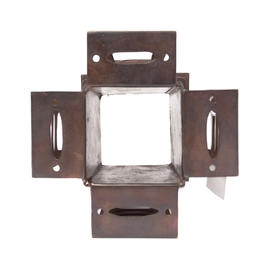
Lampshade for Library, Glasgow School of Art - Medium Canister (Version 4)
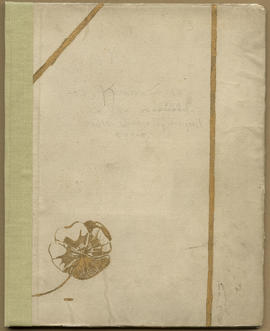
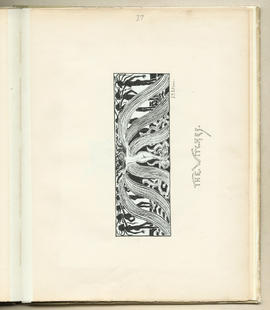
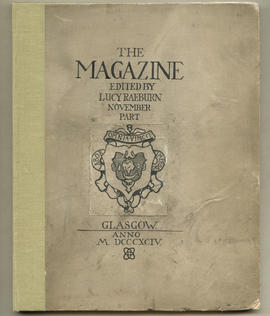
The Magazine: Volume 1 (Page 1)
The Magazine: Volume 1 (Page 4)
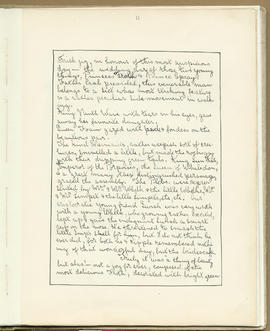
The Magazine: Volume 1 (Page 15)
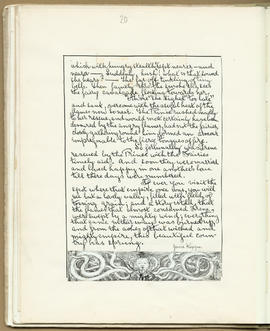
The Magazine: Volume 1 (Page 24)

The Magazine: Volume 1 (Page 32)
The Magazine: Volume 1 (Page 35)
The Magazine: Volume 2 (Page 1)
The Magazine: Volume 2 (Page 9)
The Magazine: Volume 2 (Page 12)
The Magazine: Volume 2 (Page 13)
The Magazine: Volume 2 (Page 16)
The Magazine: Volume 2 (Page 21)
The Magazine: Volume 2 (Page 24)
The Magazine: Volume 2 (Page 28)
The Magazine: Volume 2 (Page 38)
The Magazine: Volume 2 (Page 39)
The Magazine: Volume 2 (Page 43)
The Magazine: Volume 2 (Page 44)
The Magazine: Volume 2 (Page 47)
The Magazine: Volume 2 (Page 51)
The Magazine: Volume 2 (Page 53)
The Magazine: Volume 2 (Page 60)
The Magazine: Volume 2 (Page 64)

The Magazine: Volume 2 (Page 65)
The Magazine: Volume 3 (Page 1)
The Magazine: Volume 3 (Page 5)
The Magazine: Volume 3 (Page 16)
The Magazine: Volume 3 (Page 17)
The Magazine: Volume 3 (Page 23)
The Magazine: Volume 3 (Page 29)
The Magazine: Volume 3 (Page 31)
The Magazine: Volume 3 (Page 32)
The Magazine: Volume 3 (Page 34)
The Magazine: Volume 3 (Page 36)
The Magazine: Volume 3 (Page 42)
The Magazine: Volume 3 (Page 53)
The Magazine: Volume 3 (Page 54)