Showing 735 results

Archival description
Mackintosh Art, Design and Architecture Collection With digital objects
Print preview View:
Plate 7 Reception Room and Music Room from Portfolio of Prints
Plate 14 The Dining Room from Portfolio of Prints
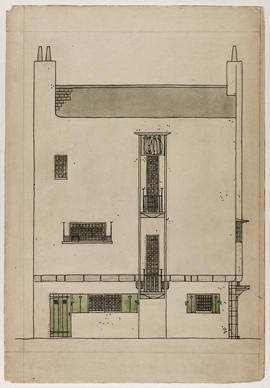
Design for an Artist's Town House and Studio: south elevation
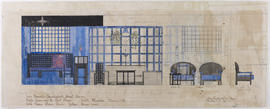
Design for The Dug-Out, Willow Tea Rooms, Glasgow
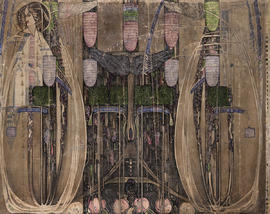
Wall hanging designed for The Dug-Out, Willow Tea Rooms, Glasgow
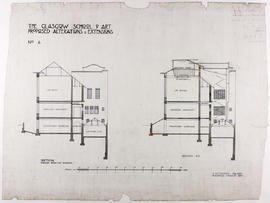
Design for Glasgow School of Art: section through existing building/section B.B
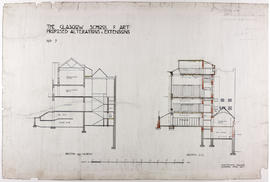
Design for Glasgow School of Art: section through Museum/section D.D
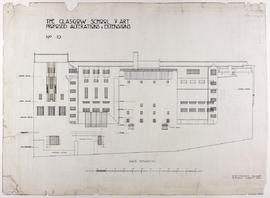
Design for Glasgow School of Art: back elevation
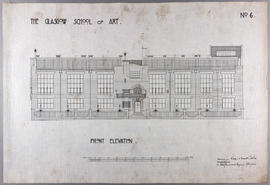
Design for Glasgow School of Art: front elevation
Design for Glasgow School of Art: elevation and plan
Design for Glasgow School of Art: plan of basement floor - East wing
Glasgow School of Art Club invitation card (Version 1)
The Magazine: Volume 1 (Page 6)
The Magazine: Volume 1 (Page 8)
The Magazine: Volume 1 (Page 9)
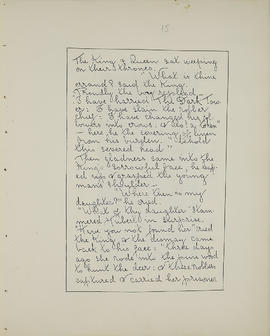
The Magazine: Volume 1 (Page 10)
The Magazine: Volume 1 (Page 12)
The Magazine: Volume 1 (Page 17)
The Magazine: Volume 1 (Page 21)
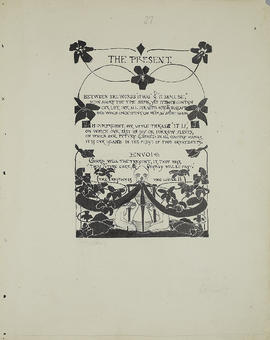
The Magazine: Volume 1 (Page 27)
The Magazine: Volume 1 (Page 34)
The Magazine: Volume 1 (Page 36)
The Magazine: Volume 2 (Page 8)
The Magazine: Volume 2 (Page 15)
The Magazine: Volume 2 (Page 19)
The Magazine: Volume 2 (Page 31)
The Magazine: Volume 2 (Page 32)
The Magazine: Volume 2 (Page 35)
The Magazine: Volume 2 (Page 37)
The Magazine: Volume 2 (Page 41)
The Magazine: Volume 2 (Page 45)
The Magazine: Volume 2 (Page 46)
The Magazine: Volume 2 (Page 58)
The Magazine: Volume 2 (Page 59)
The Magazine: Volume 3 (Page 3)
The Magazine: Volume 3 (Page 6)
The Magazine: Volume 3 (Page 9)
The Magazine: Volume 3 (Page 10)
The Magazine: Volume 3 (Page 11)
The Magazine: Volume 3 (Page 12)
The Magazine: Volume 3 (Page 18)
The Magazine: Volume 3 (Page 19)
The Magazine: Volume 3 (Page 21)
The Magazine: Volume 3 (Page 24)
The Magazine: Volume 3 (Page 25)
The Magazine: Volume 3 (Page 30)
The Magazine: Volume 3 (Page 33)
The Magazine: Volume 3 (Page 37)
The Magazine: Volume 3 (Page 39)
The Magazine: Volume 3 (Page 47)
Results 101 to 150 of 735