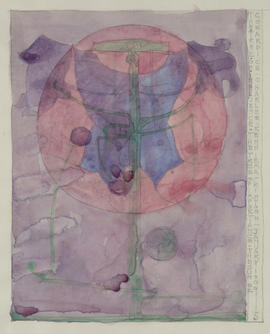
Winter
The Shadow
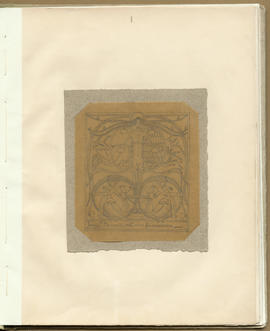
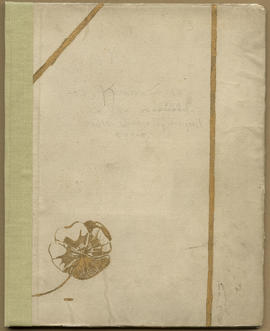
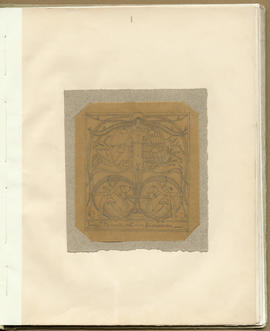
Design for a Bookplate for Lucy Raeburn
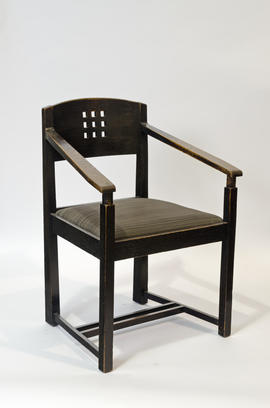
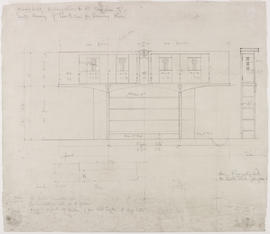
Low-backed armchair for the Director's Room, Glasgow School of Art
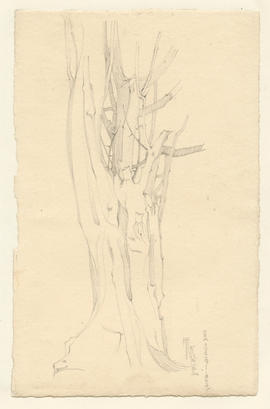
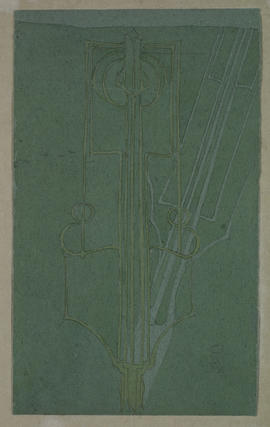
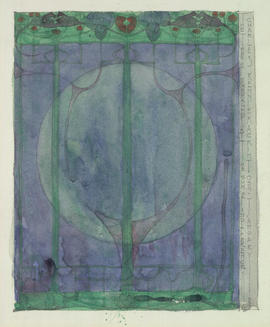
Tree
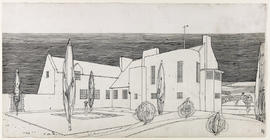
Design for Windyhill, Kilmacolm, perspective from north-east
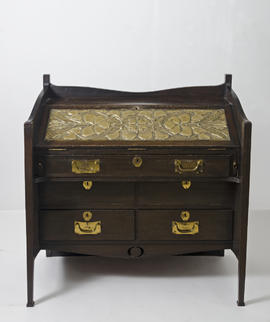
Writing desk for Gladsmuir (Version 1)
Writing desk for Gladsmuir (Version 2)
Writing desk for Gladsmuir (Version 3)

Writing desk for Gladsmuir (Version 4)

Writing desk for Gladsmuir (Version 5)

Writing desk for Gladsmuir (Version 6)
Writing desk for Gladsmuir (Version 7)
Le Fort Mailly
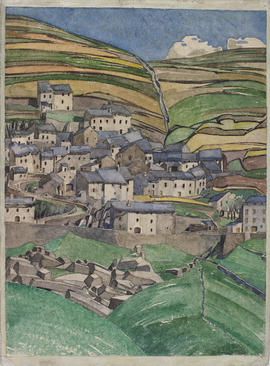
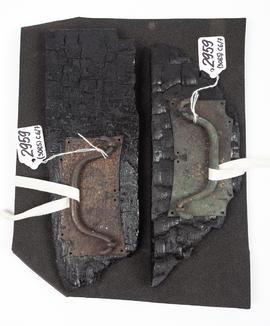
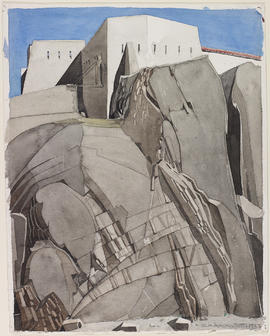
Slate Roofs
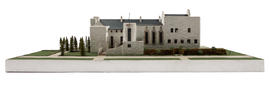
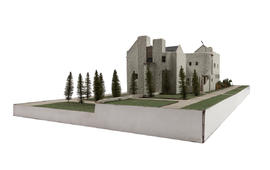
Model of the Haus eines Kunstfreundes (House for an Art Lover) (Version 1)

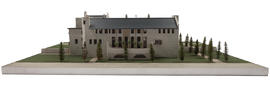
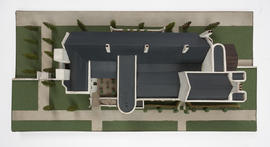
Model of the Haus eines Kunstfreundes (House for an Art Lover) (Version 2)
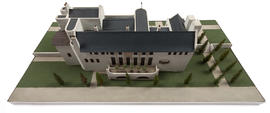
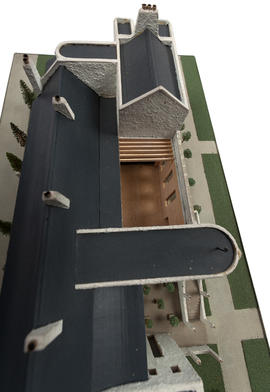
Model of the Haus eines Kunstfreundes (House for an Art Lover) (Version 3)
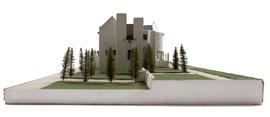
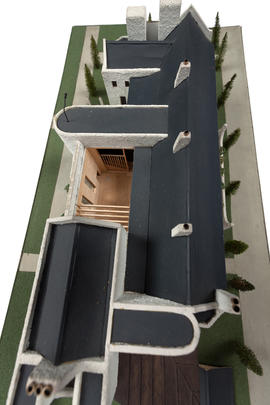
Model of the Haus eines Kunstfreundes (House for an Art Lover) (Version 4)
Model of the Haus eines Kunstfreundes (House for an Art Lover) (Version 5)
Model of the Haus eines Kunstfreundes (House for an Art Lover) (Version 6)
Model of the Haus eines Kunstfreundes (House for an Art Lover) (Version 7)
Model of the Haus eines Kunstfreundes (House for an Art Lover) (Version 8)
Model of the Haus eines Kunstfreundes (House for an Art Lover) (Version 9)
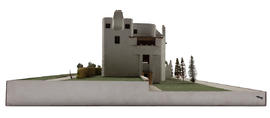
Model of the Haus eines Kunstfreundes (House for an Art Lover) (Version 10)
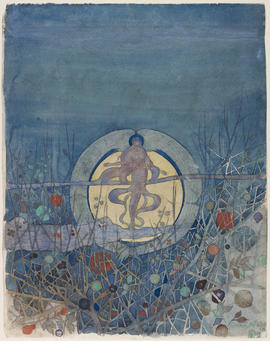
The Harvest Moon
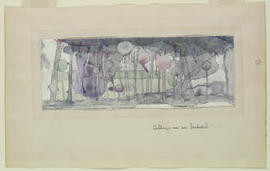
Cabbages in an Orchard
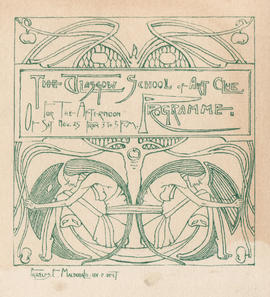
Design for a Glasgow School of Art Club 'Programme'
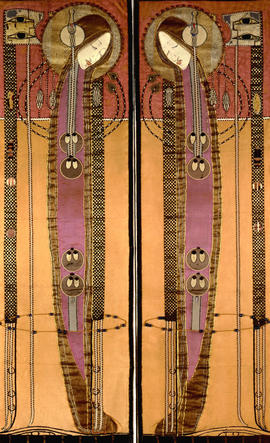
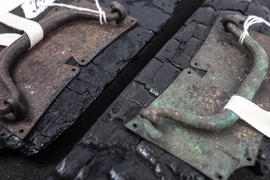
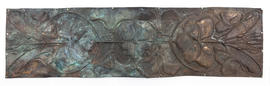
Embroidered panel

Embroidered panel

Design for the Grand Hall, Glasgow International Exhibition, 1901
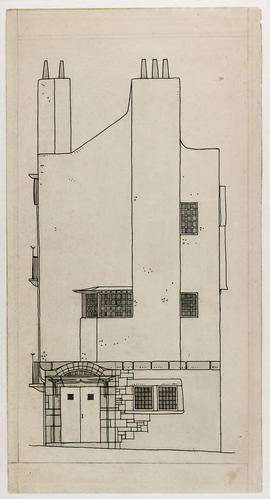
Design for an Artist's Town House and Studio: south elevation
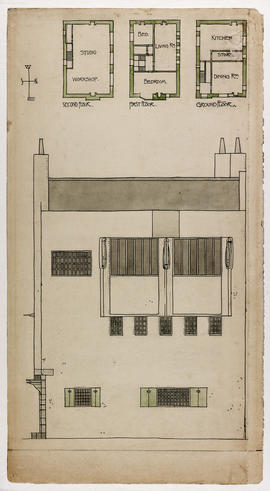
Design for an Artist's Town House and Studio: south elevation and plans
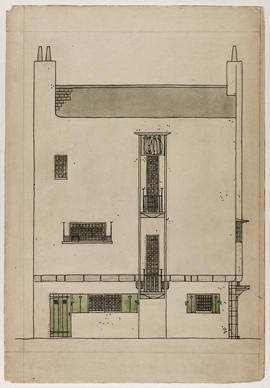
Design for an Artist's Town House and Studio: east elevation
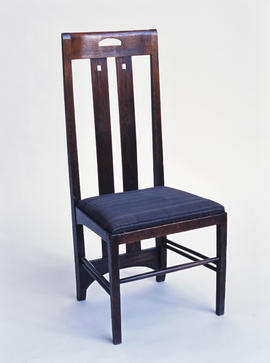
Chair for Ingram Street Tea Rooms
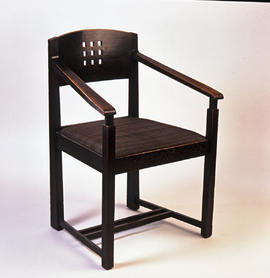
Low-backed armchair for the Director's Room, Glasgow School of Art
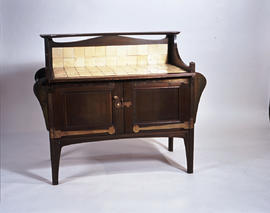
Washstand for Guthrie and Wells
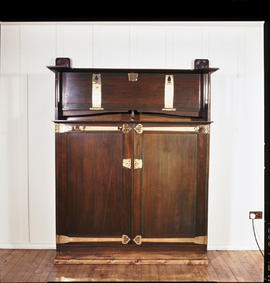
Linen Cupboard for Gladsmuir
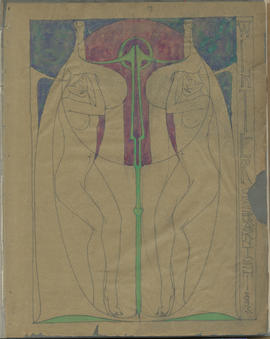
The Tree of Influence
The Tree of Personal Effort

Plate 14 The Dining Room from Portfolio of Prints
Design for a bookcase for Windyhill, Kilmacolm

Design for Windyhill, Kilmacolm, perspective from south-west
The Magazine: Volume 1 (Page 1)

The Magazine: Volume 1 (Page 2)

The Magazine: Volume 1 (Page 3)
The Magazine: Volume 1 (Page 4)
The Magazine: Volume 1 (Page 5)
The Magazine: Volume 1 (Page 6)
The Magazine: Volume 1 (Page 7)