The Magazine: Volume 1 (Page 27)
The Magazine: Volume 1 (Page 26)
The Magazine: Volume 1 (Page 25)
The Magazine: Volume 1 (Page 24)
The Magazine: Volume 1 (Page 23)
The Magazine: Volume 1 (Page 22)
The Magazine: Volume 1 (Page 21)
The Magazine: Volume 1 (Page 20)
The Magazine: Volume 1 (Page 19)
The Magazine: Volume 1 (Page 18)

The Magazine: Volume 1 (Page 17)
The Magazine: Volume 1 (Page 16)
The Magazine: Volume 1 (Page 15)
The Magazine: Volume 1 (Page 14)
The Magazine: Volume 1 (Page 13)
The Magazine: Volume 1 (Page 12)
The Magazine: Volume 1 (Page 11)
The Magazine: Volume 1 (Page 10)
The Magazine: Volume 1 (Page 9)
The Magazine: Volume 1 (Page 8)
The Magazine: Volume 1 (Page 7)
The Magazine: Volume 1 (Page 6)
The Magazine: Volume 1 (Page 5)
The Magazine: Volume 1 (Page 4)
The Magazine: Volume 1 (Page 3)
The Magazine: Volume 1 (Page 2)
The Magazine: Volume 1 (Page 1)
The Magazine: Volume 1
The Magazine: Volume 1
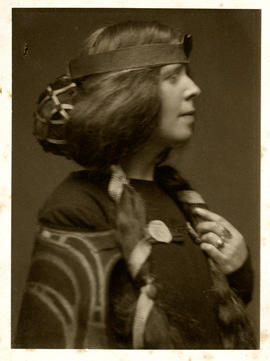
Portrait of Margaret Macdonald Mackintosh (Version 3)

Wall hanging clock
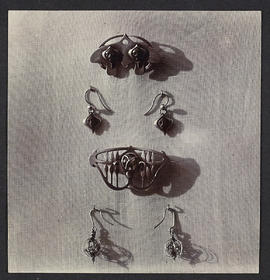
Two brooch and earring sets

Silver pendant depicting woman
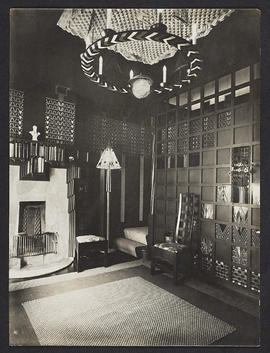
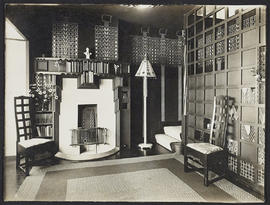
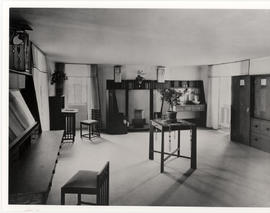
Interior with fireplace, chair and lampshade
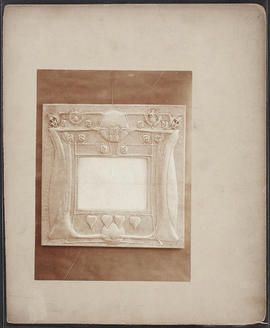
"Honesty" Mirror frame
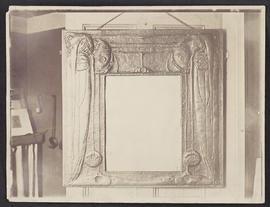
Decorative frame depicting two women
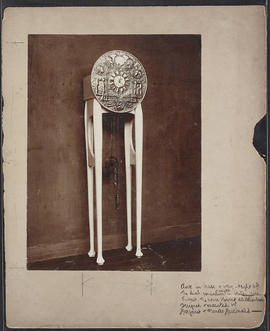
Brass clock standing on wooden frame
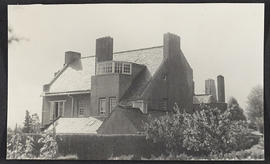
East view from orchard
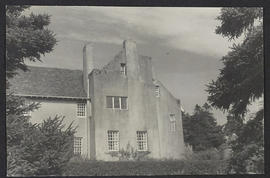
Front view facing south not showing turret
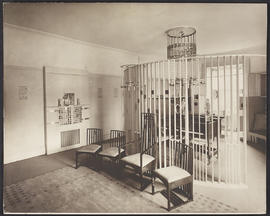
Interior of Hous'hill, Glasgow - the music room
Interior with two chairs, fireplace and lampshade
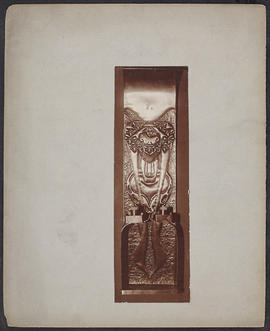
Beaten brass sconce
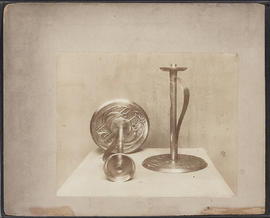
Two candlesticks
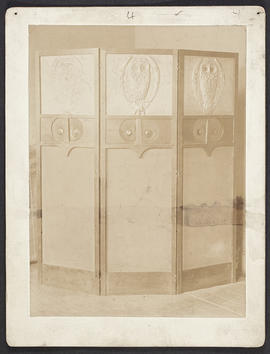
Owl screen
Interior of Hous'hill, Glasgow - the blue bedroom
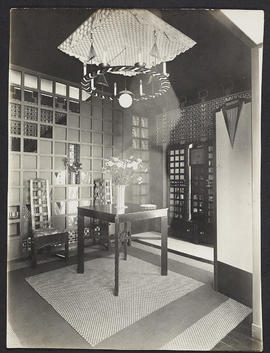
Interior with table, two chars and ceiling light

Ceiling light

Entrance drive showing front door
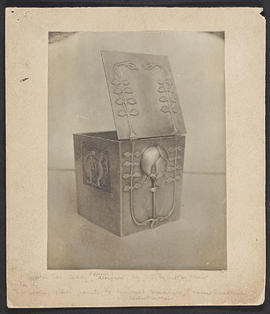
Tea Caddy
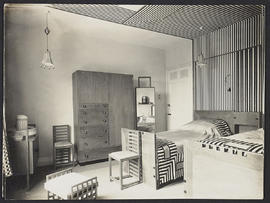
Striped bedroom
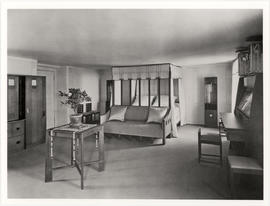
Interior of Hous'hill, Glasgow - the blue bedroom