Showing 203 results

Archival description
Mackintosh, Charles Rennie Photographs With digital objects
Print preview View:
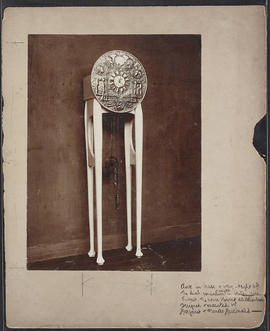
Brass clock standing on wooden frame
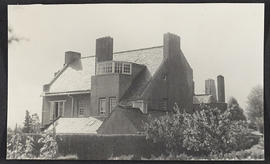
East view from orchard
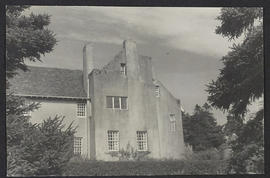
Front view facing south not showing turret
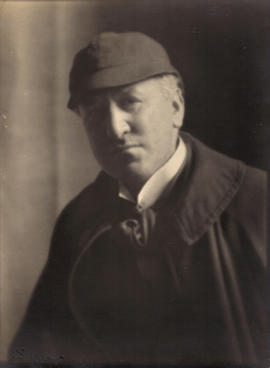
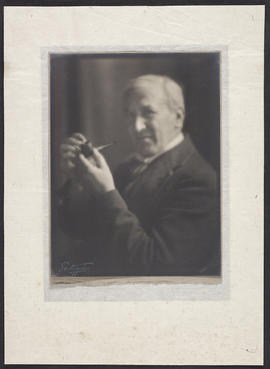
Portrait of Charles Rennie Mackintosh
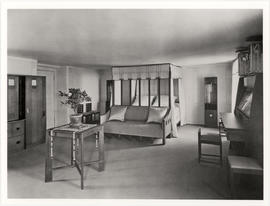
Interior of Hous'hill, Glasgow - the blue bedroom
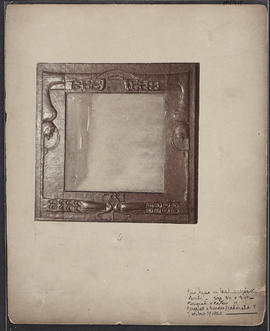
Mirror frame in lead
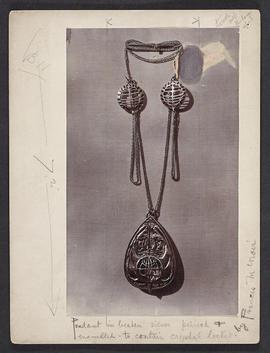
Beaten silver pendant
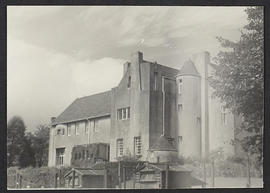
Front view facing south with turret
Silver pendant depicting woman
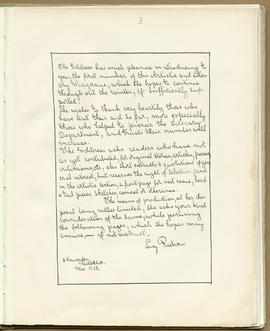
The Magazine: Volume 1 (Page 3)
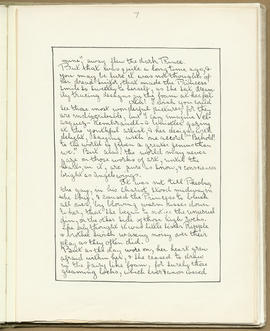
The Magazine: Volume 1 (Page 7)
The Magazine: Volume 1 (Page 11)
The Magazine: Volume 1 (Page 13)
The Magazine: Volume 1 (Page 14)
The Magazine: Volume 1 (Page 19)
The Magazine: Volume 1 (Page 22)
The Magazine: Volume 1 (Page 25)
The Magazine: Volume 1 (Page 26)
The Magazine: Volume 1 (Page 28)
The Magazine: Volume 1 (Page 33)
The Magazine: Volume 1 (Page 40)
The Magazine: Volume 2 (Page 7)
The Magazine: Volume 2 (Page 10)
The Magazine: Volume 2 (Page 11)
The Magazine: Volume 2 (Page 14)
The Magazine: Volume 2 (Page 17)
The Magazine: Volume 2 (Page 18)
The Magazine: Volume 2 (Page 22)
The Magazine: Volume 2 (Page 25)
The Magazine: Volume 2 (Page 30)
The Magazine: Volume 2 (Page 34)
The Magazine: Volume 2 (Page 40)
The Magazine: Volume 2 (Page 42)
The Magazine: Volume 2 (Page 56)
The Magazine: Volume 2 (Page 62)
The Magazine: Volume 2 (Page 63)
The Magazine: Volume 3 (Page 4)
The Magazine: Volume 3 (Page 7)
The Magazine: Volume 3 (Page 8)
The Magazine: Volume 3 (Page 13)
The Magazine: Volume 3 (Page 20)
The Magazine: Volume 3 (Page 28)
The Magazine: Volume 3 (Page 35)
The Magazine: Volume 3 (Page 38)
The Magazine: Volume 3 (Page 40)
The Magazine: Volume 3 (Page 45)
The Magazine: Volume 3 (Page 50)
The Magazine: Volume 3 (Page 51)
The Magazine: Volume 3 (Page 58)
Results 51 to 100 of 203