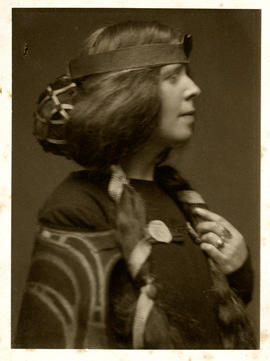
Portrait of Margaret Macdonald Mackintosh (Version 3)
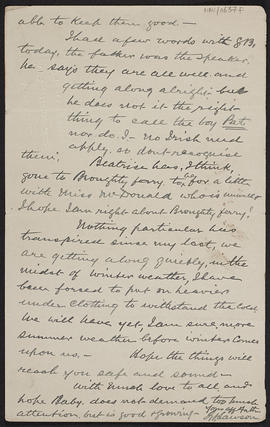
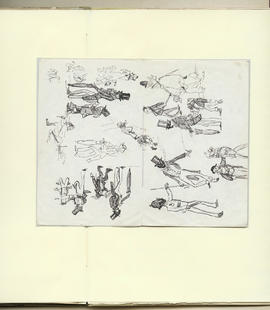
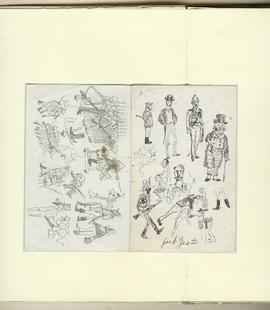
Sheet from a folio of various studies, photos and poems (Version 1)
Sheet from a folio of various studies, photos and poems (Version 2)
Sheet from a folio of various studies, photos and poems (Version 1)

Sheet from a folio of various studies, photos and poems (Version 2)
Sheet from a folio of various studies, photos and poems (Version 2)
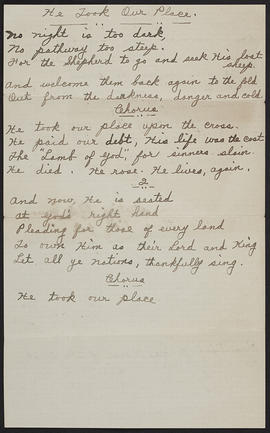
Sheet from a folio of various studies, photos and poems (Version 1)
Sheet from a folio of various studies, photos and poems (Version 2)
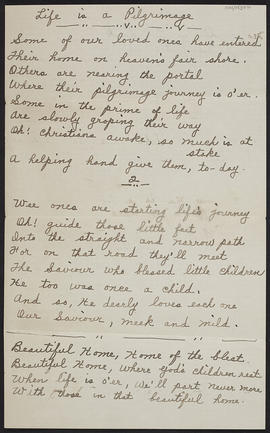
Sheet from a folio of various studies, photos and poems (Version 2)
Sheet from a folio of various studies, photos and poems (Version 2)
Sheet from a folio of various studies, photos and poems (Version 1)
Sheet from a folio of various studies, photos and poems (Version 2)
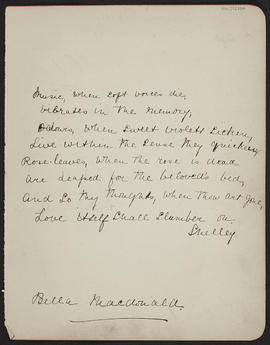
Sheet from a folio of various studies, photos and poems (Version 1)
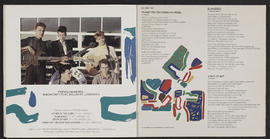
Vinyl EP cover, Friends Again (Version 6)

Vinyl single, Altered Images "I would be happy" (Version 1)
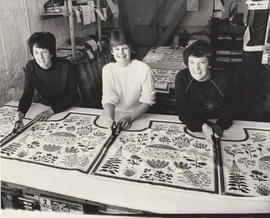
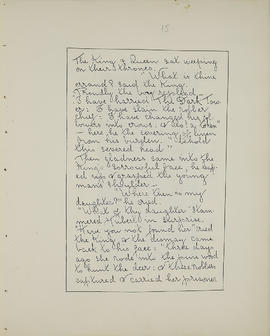
Photographs (Version 3)
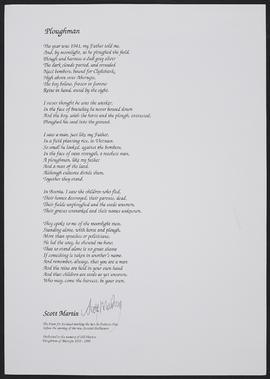
Dreamweaver/Ploughman Poems (Version 1)
Dreamweaver/Ploughman Poems (Version 8)

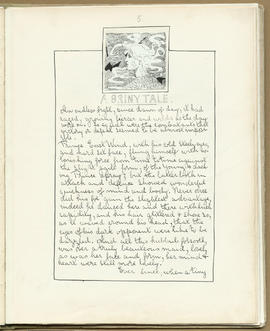
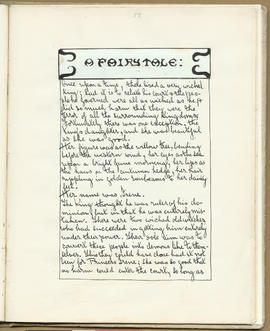
The Magazine: Volume 1 (Page 6)

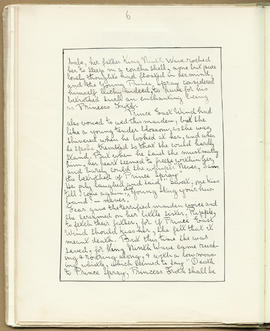
The Magazine: Volume 1 (Page 8)
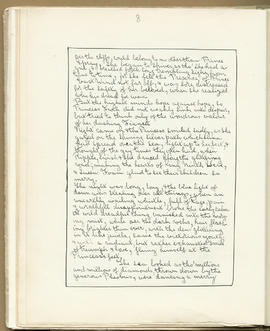
The Magazine: Volume 1 (Page 9)
The Magazine: Volume 1 (Page 10)
The Magazine: Volume 1 (Page 12)

The Magazine: Volume 1 (Page 17)
The Magazine: Volume 1 (Page 21)
The Magazine: Volume 1 (Page 27)
The Magazine: Volume 1 (Page 34)
The Magazine: Volume 1 (Page 36)
The Magazine: Volume 2 (Page 8)

The Magazine: Volume 2 (Page 15)

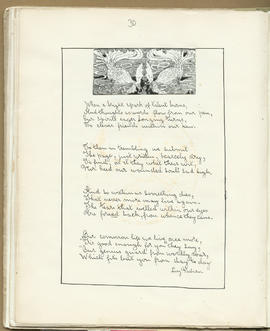
The Magazine: Volume 2 (Page 19)

The Magazine: Volume 2 (Page 31)
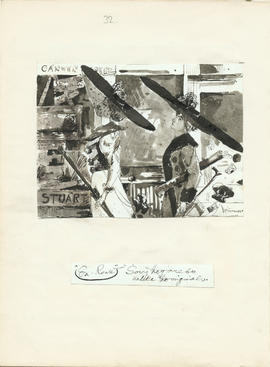
The Magazine: Volume 2 (Page 32)
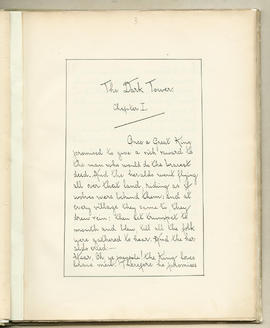
The Magazine: Volume 2 (Page 35)
The Magazine: Volume 2 (Page 37)

The Magazine: Volume 2 (Page 41)

The Magazine: Volume 2 (Page 45)
The Magazine: Volume 2 (Page 46)
The Magazine: Volume 2 (Page 58)
The Magazine: Volume 2 (Page 59)

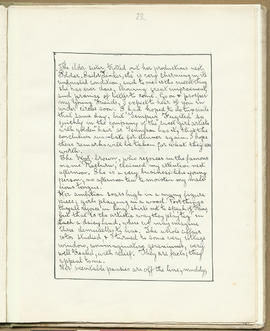
The Magazine: Volume 3 (Page 3)

The Magazine: Volume 3 (Page 6)

The Magazine: Volume 3 (Page 9)

The Magazine: Volume 3 (Page 10)
The Magazine: Volume 3 (Page 11)

The Magazine: Volume 3 (Page 12)

The Magazine: Volume 3 (Page 18)
The Magazine: Volume 3 (Page 19)
The Magazine: Volume 3 (Page 21)

The Magazine: Volume 3 (Page 24)