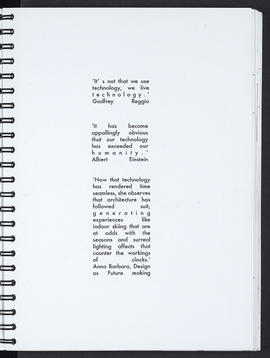
Illustrated note book (Page 9)
Illustrated note book (Page 9)
Illustrated note book (Page 9)

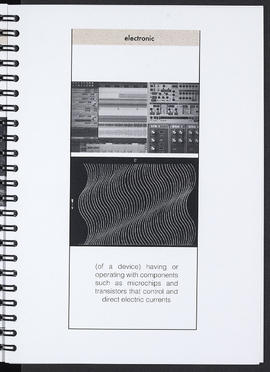
Illustrated note book (Page 90)

Illustrated note book (Page 90)
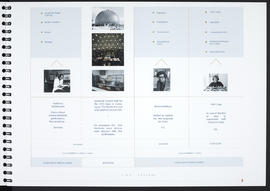
Illustrated note book (Page 91)
Illustrated note book (Page 91)
Illustrated note book (Page 92)
Illustrated note book (Page 92)
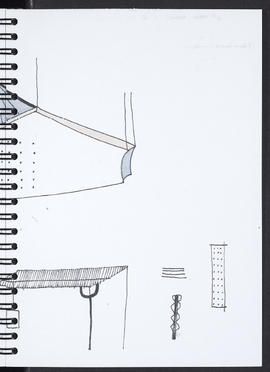
Illustrated note book (Page 93)
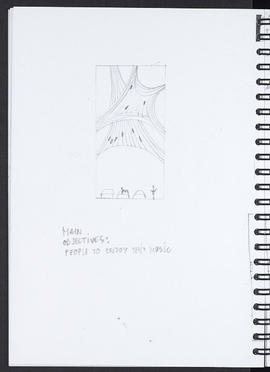
Illustrated note book (Page 94)
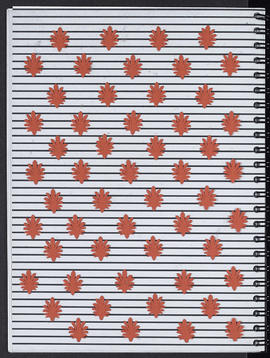
Illustrated note book (Page 95)

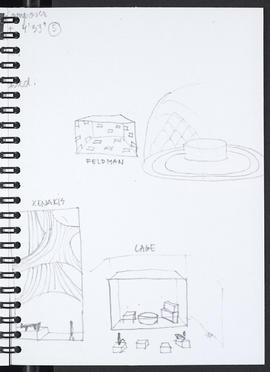
Illustrated note book (Page 96)
Illustrated note book (Page 97)
Illustrated note book (Page 98)
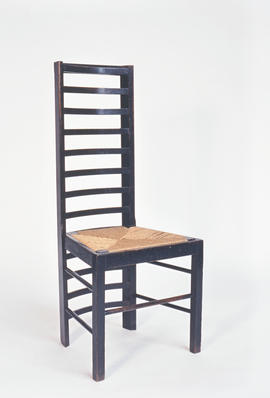
Ladder-back chair for Willow Tea Rooms (Version 1)
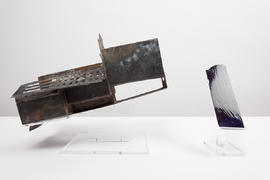
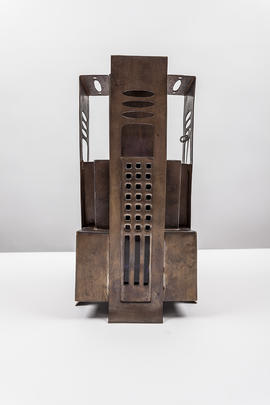
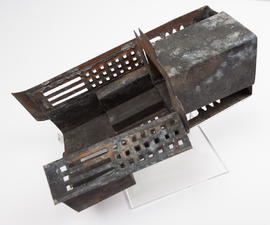
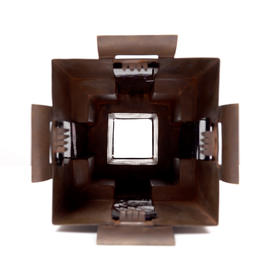
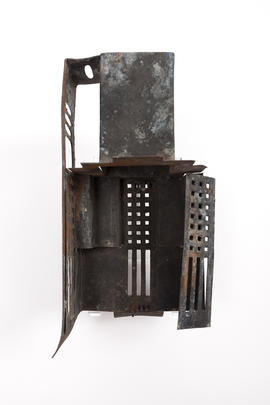
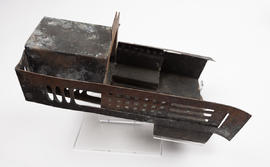
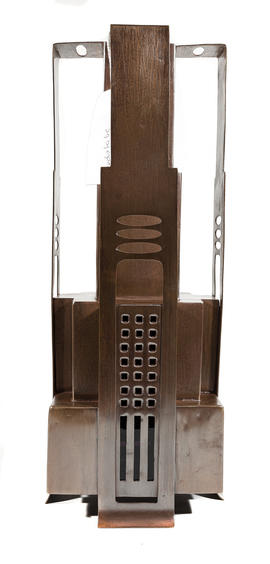
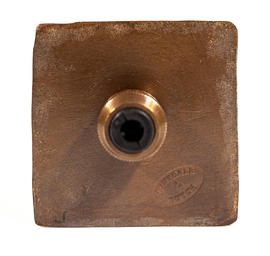
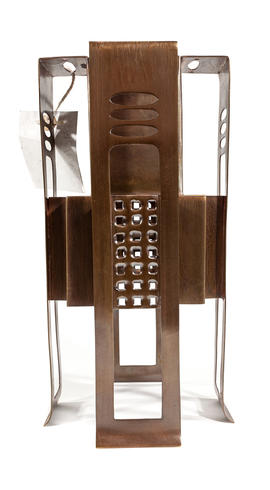
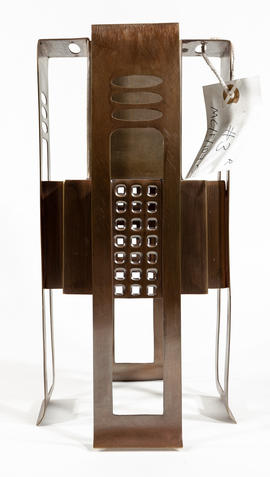
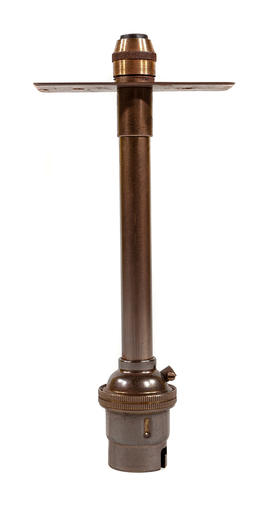
Lampshade for Library, Glasgow School of Art - Medium Canister (Version 1)
Lampshade for Library, Glasgow School of Art - Medium Canister (Version 1)
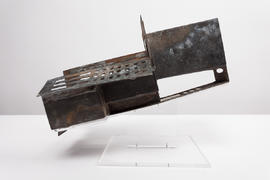
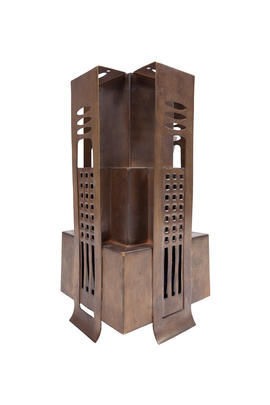
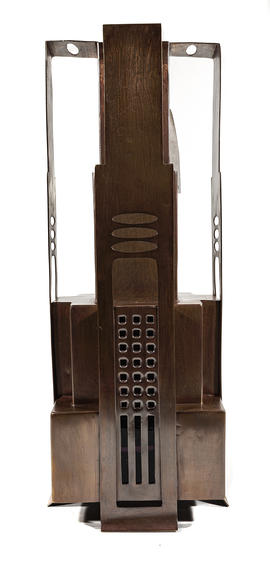
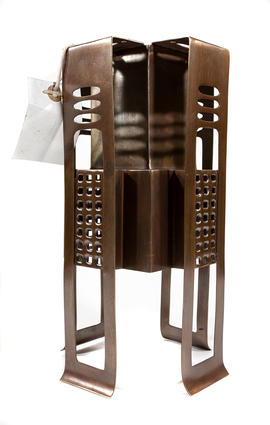
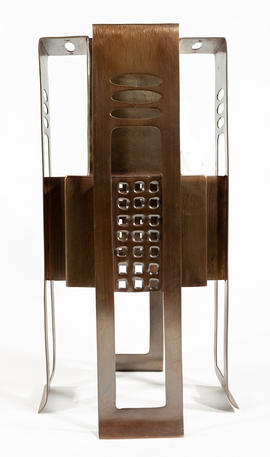
Lampshade for Library, Glasgow School of Art - Medium Canister (Version 2)
Lampshade for Library, Glasgow School of Art - Medium Canister (Version 2)
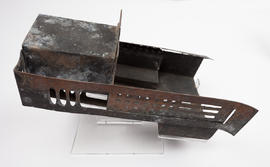
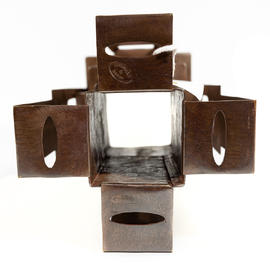
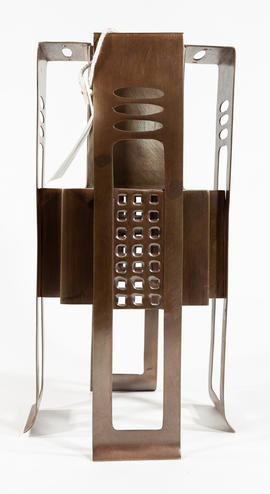
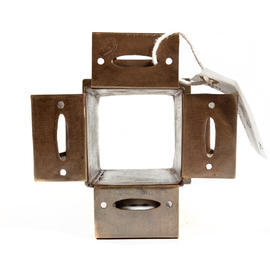
Lampshade for Library, Glasgow School of Art - Medium Canister (Version 3)

Lampshade for Library, Glasgow School of Art - Medium Canister (Version 3)
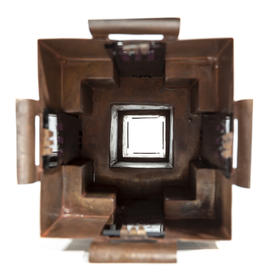
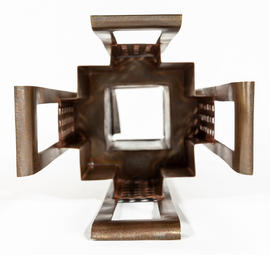
Lampshade for Library, Glasgow School of Art - Medium Canister (Version 4)
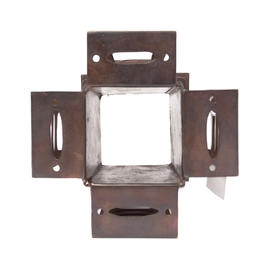
Lampshade for Library, Glasgow School of Art - Medium Canister (Version 4)
Lampshade for Library, Glasgow School of Art - Medium Canister (Version 5)
Lampshade for Library, Glasgow School of Art - Medium Canister (Version 5)
Lampshade for Library, Glasgow School of Art - Medium Canister (Version 6)
Lampshade for Library, Glasgow School of Art - Medium Canister (Version 7)
Lampshade for Library, Glasgow School of Art - Medium Canister (Version 8)
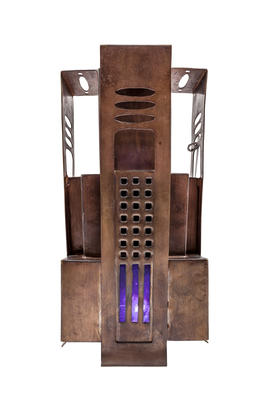
Lampshade for Library, Glasgow School of Art: Central Cluster- Composite Large Pendant (Version 1)
Lampshade for Library, Glasgow School of Art: Central Cluster- Composite Large Pendant (Version 2)
Lampshade for Library, Glasgow School of Art: Central Cluster- Composite Large Pendant (Version 3)
Lampshade for Library, Glasgow School of Art: Central Cluster- Composite Large Pendant (Version 4)
Lampshade for Library, Glasgow School of Art: Central Cluster- Composite Large Pendant (Version 5)
Lampshade for Library, Glasgow School of Art: Central Cluster- Composite Large Pendant (Version 6)
Lampshade for Library, Glasgow School of Art: Central Cluster- Composite Large Pendant (Version 7)

Lampshade for Library, Glasgow School of Art: Central Cluster- Composite Large Pendant (Version 8)
Lampshade for Library, Glasgow School of Art: Central Cluster- Composite Large Pendant (Version 9)
Lampshade for Library, Glasgow School of Art: Central Cluster- Reconstructed Small Canister (Version 1)
Lampshade for Library, Glasgow School of Art: Central Cluster- Reconstructed Small Canister (Version 2)
Lampshade for Library, Glasgow School of Art: Central Cluster- Reconstructed Small Canister (Version 3)
Lampshade for Library, Glasgow School of Art: Central Cluster- Reconstructed Small Canister (Version 4)
Lampshade for Library, Glasgow School of Art: Central Cluster- Reconstructed Small Canister (Version 5)
Lampshade for Library, Glasgow School of Art: Central Cluster- Reconstructed Small Canister (Version 6)
Lampshade for Library, Glasgow School of Art: Central Cluster- Reconstructed Small Canister (Version 7)
Lampshade for Library, Glasgow School of Art: Central Cluster- Reconstructed Small Canister (Version 8)
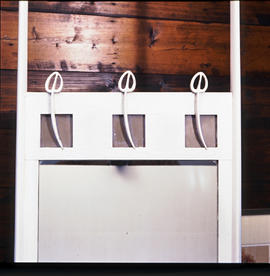
Mirror for Windyhill (Version 1)
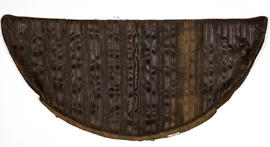
Original cover of Charles Rennie Mackintosh Willow Tea Rooms settle (Version 1)

Original cover of Charles Rennie Mackintosh Willow Tea Rooms settle (Version 2)
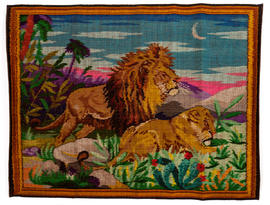
Pictorial tapestry rug featuring a lion and lioness (Version 1)