Showing 240 results

Archival description
Mackintosh Art, Design and Architecture Collection Design (arts) With digital objects
Print preview View:
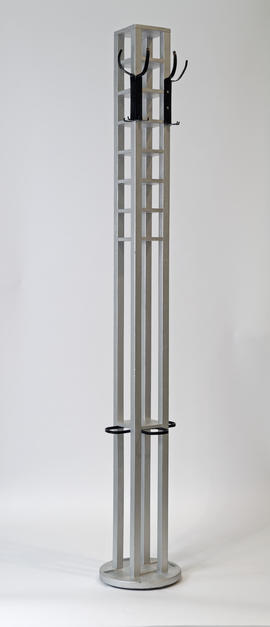
Hat, coat and umbrella stand for the Room de Luxe, Willow Tea Rooms (Version 1)
Hat, coat and umbrella stand for the Room de Luxe, Willow Tea Rooms (Version 4)
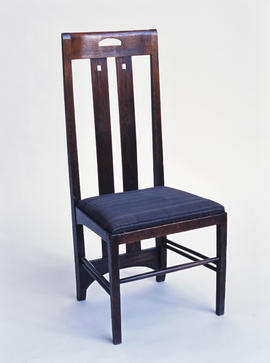
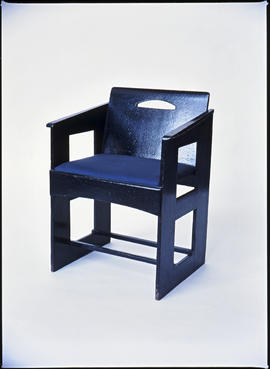
Chair for Ingram Street Tea Rooms
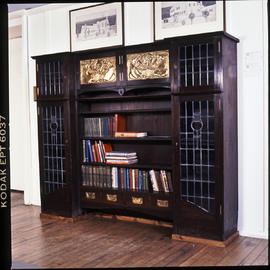
Bookcase for Gladsmuir
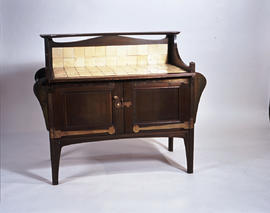
Washstand for Guthrie and Wells
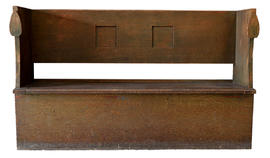
Bench for Windyhill (Version 1)
Bench for Windyhill (Version 2)
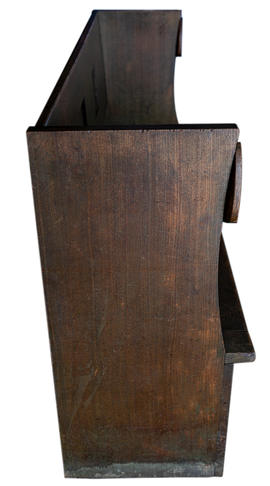
Bench for Windyhill (Version 3)
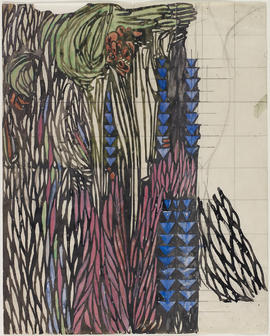
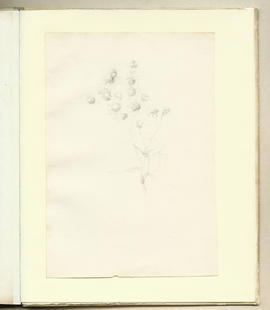
Textile Design
Textile Design
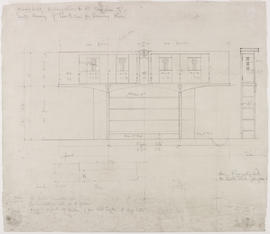
Design for a bookcase for Windyhill, Kilmacolm
Hat, coat and umbrella stand for the Room de Luxe, Willow Tea Rooms (Version 2)
Hat, coat and umbrella stand for the Room de Luxe, Willow Tea Rooms (Version 3)
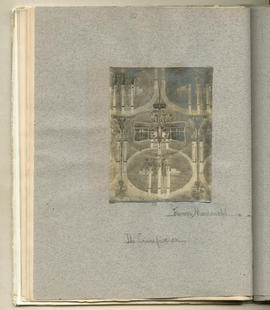
Design for Conversazione Programme
Linen Cupboard for John Henderson
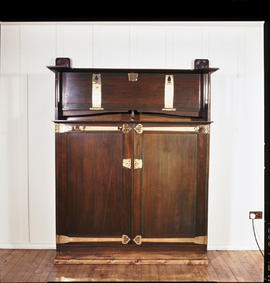
Linen Cupboard for Gladsmuir
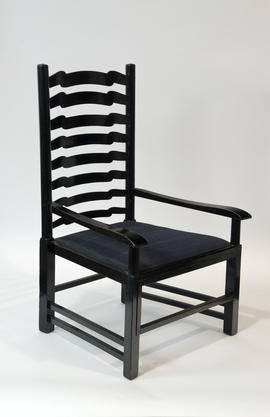
Armchair for Willow Tea Rooms
Large armchair for the Dug-Out, Willow Tea Rooms
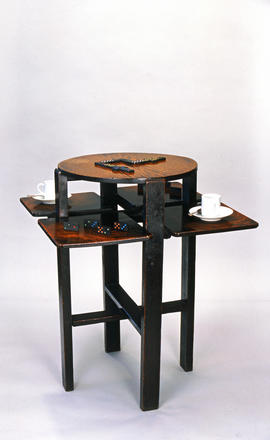
Domino table for the Chinese Room, Ingram Street Tea Rooms
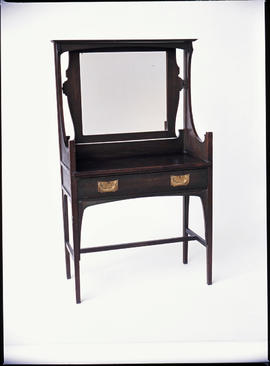
Dressing Table for Guthrie and Wells
Design for a Bookplate for Lucy Raeburn
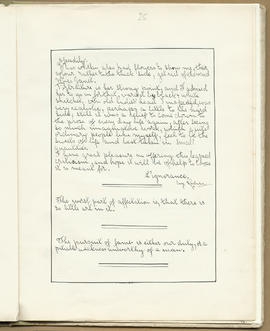
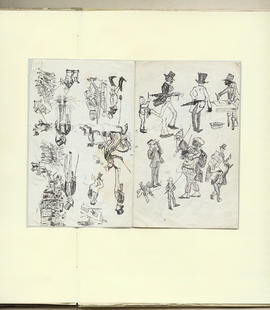
The Magazine: Volume 1 (Page 2)
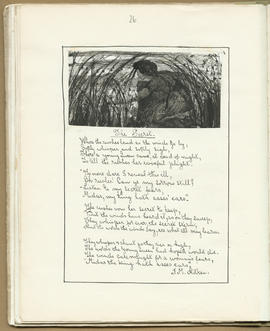
The Magazine: Volume 1 (Page 5)
The Magazine: Volume 1 (Page 16)
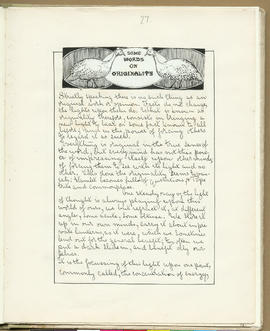
The Magazine: Volume 1 (Page 18)
The Magazine: Volume 1 (Page 20)
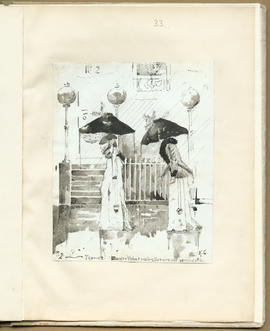
The Magazine: Volume 1 (Page 23)
The Magazine: Volume 1 (Page 29)
The Magazine: Volume 1 (Page 30)
The Magazine: Volume 1 (Page 31)
The Magazine: Volume 1 (Page 37)
The Magazine: Volume 1 (Page 38)
The Magazine: Volume 1 (Page 39)
The Magazine: Volume 2 (Page 4)
The Magazine: Volume 2 (Page 6)
The Magazine: Volume 2 (Page 20)
The Magazine: Volume 2 (Page 23)
The Magazine: Volume 2 (Page 26)
The Magazine: Volume 2 (Page 27)
The Magazine: Volume 2 (Page 29)
The Magazine: Volume 2 (Page 33)
The Magazine: Volume 2 (Page 36)
The Magazine: Volume 2 (Page 48)
The Magazine: Volume 2 (Page 49)
The Magazine: Volume 2 (Page 52)
The Magazine: Volume 2 (Page 54)
The Magazine: Volume 2 (Page 55)
The Magazine: Volume 2 (Page 57)
The Magazine: Volume 2 (Page 61)
The Magazine: Volume 3 (Page 2)
The Magazine: Volume 3 (Page 14)
Results 1 to 50 of 240