
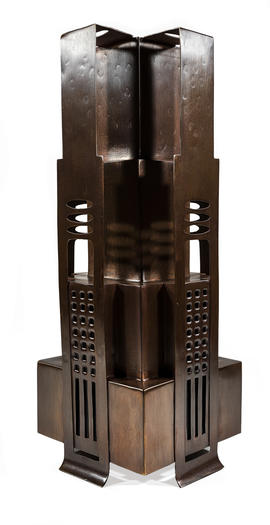
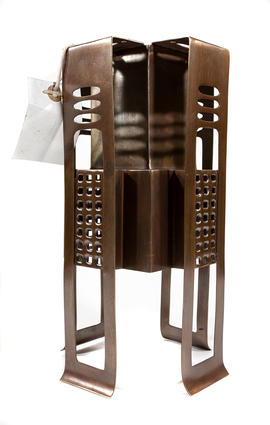
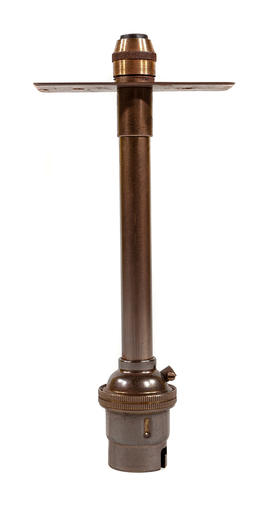
Lampshade for Library, Glasgow School of Art - Medium Canister (Version 3)
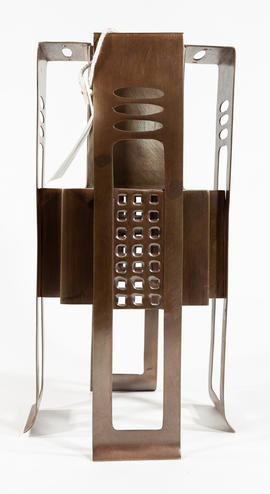
Lampshade for Library, Glasgow School of Art - Medium Canister (Version 4)
Lampshade for Library, Glasgow School of Art - Medium Canister (Version 4)
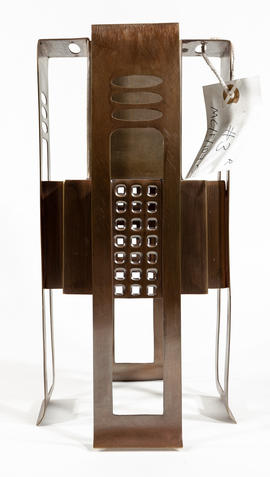
Lampshade for Library, Glasgow School of Art - Medium Canister (Version 5)
Lampshade for Library, Glasgow School of Art - Medium Canister (Version 5)
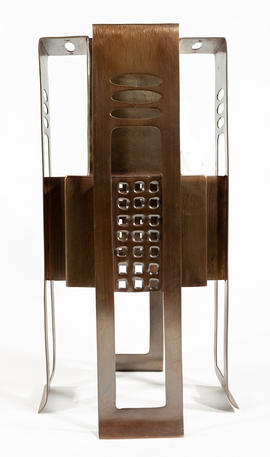
Lampshade for Library, Glasgow School of Art - Medium Canister (Version 6)
Lampshade for Library, Glasgow School of Art - Medium Canister (Version 7)
Lampshade for Library, Glasgow School of Art - Medium Canister (Version 8)
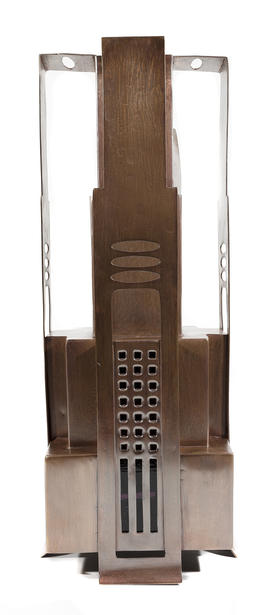
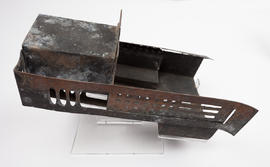
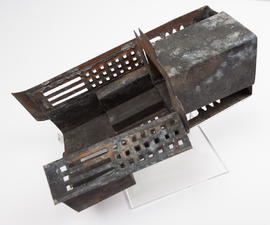
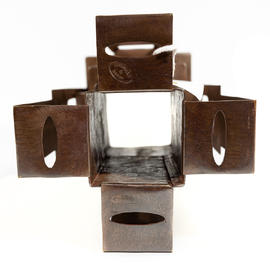
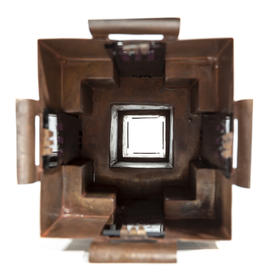
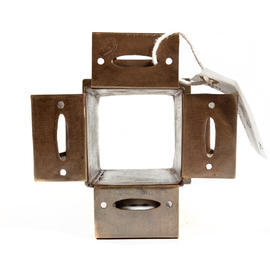
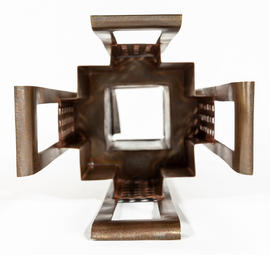
Lampshade for Library, Glasgow School of Art: Central Cluster- Composite Large Pendant (Version 1)
Lampshade for Library, Glasgow School of Art: Central Cluster- Composite Large Pendant (Version 2)
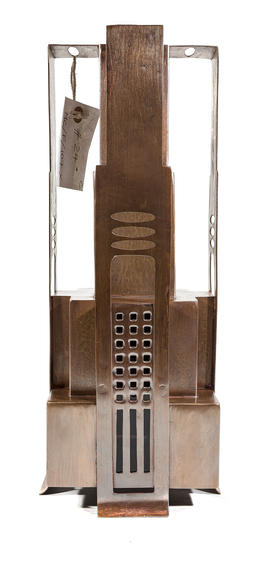
Lampshade for Library, Glasgow School of Art: Central Cluster- Composite Large Pendant (Version 3)
Lampshade for Library, Glasgow School of Art: Central Cluster- Composite Large Pendant (Version 4)
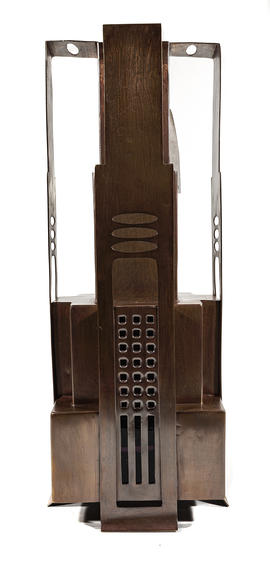
Lampshade for Library, Glasgow School of Art: Central Cluster- Composite Large Pendant (Version 5)
Lampshade for Library, Glasgow School of Art: Central Cluster- Composite Large Pendant (Version 6)
Lampshade for Library, Glasgow School of Art: Central Cluster- Composite Large Pendant (Version 7)

Lampshade for Library, Glasgow School of Art: Central Cluster- Composite Large Pendant (Version 8)
Lampshade for Library, Glasgow School of Art: Central Cluster- Composite Large Pendant (Version 9)
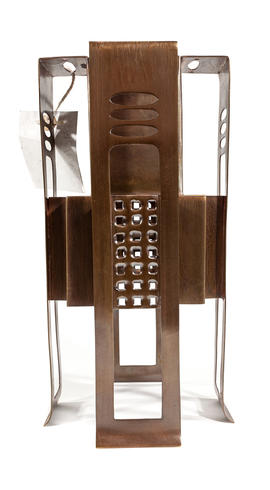
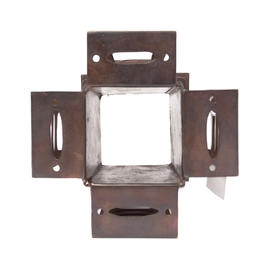
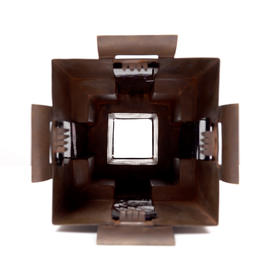
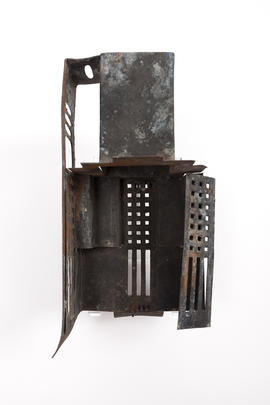
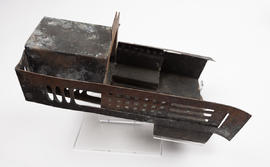
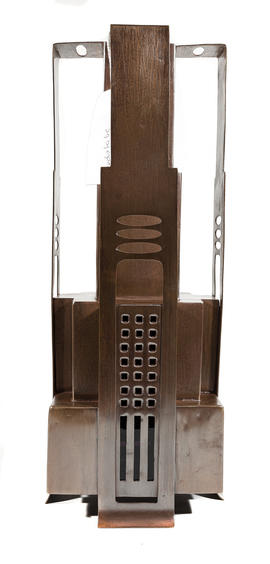
Lampshade for Library, Glasgow School of Art: Central Cluster- Reconstructed Small Canister (Version 1)
Lampshade for Library, Glasgow School of Art: Central Cluster- Reconstructed Small Canister (Version 2)
Lampshade for Library, Glasgow School of Art: Central Cluster- Reconstructed Small Canister (Version 3)
Lampshade for Library, Glasgow School of Art: Central Cluster- Reconstructed Small Canister (Version 4)
Lampshade for Library, Glasgow School of Art: Central Cluster- Reconstructed Small Canister (Version 5)
Lampshade for Library, Glasgow School of Art: Central Cluster- Reconstructed Small Canister (Version 6)
Lampshade for Library, Glasgow School of Art: Central Cluster- Reconstructed Small Canister (Version 7)
Lampshade for Library, Glasgow School of Art: Central Cluster- Reconstructed Small Canister (Version 8)
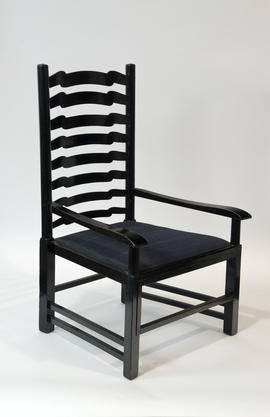
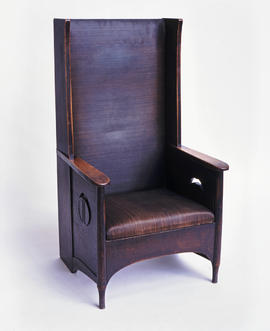
Large armchair for the Dug-Out, Willow Tea Rooms
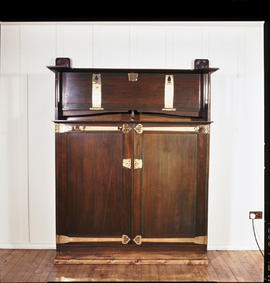
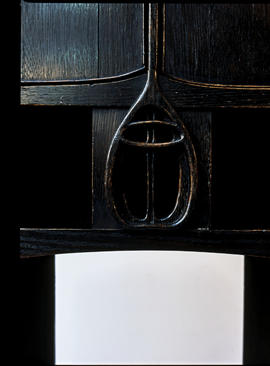
Linen Cupboard for Gladsmuir
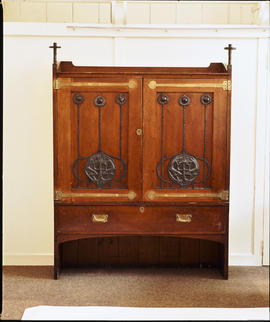
Linen Cupboard for John Henderson
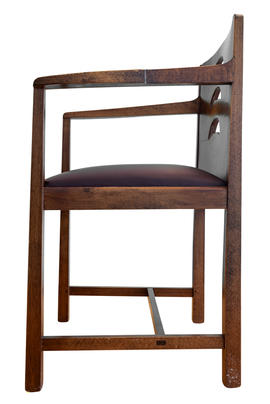
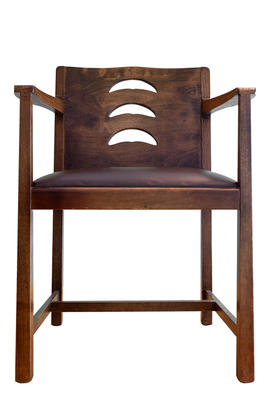
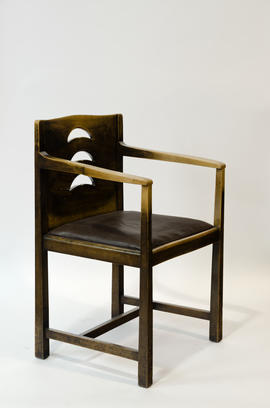
Low-back armchair for the Director's Room, Glasgow School of Art (Version 1)
Low-back armchair for the Director's Room, Glasgow School of Art (Version 2)
Low-back armchair for the Director's Room, Glasgow School of Art (Version 3)
Low-back armchair for the Director's Room, Glasgow School of Art (Version 4)
Low-back armchair for the Director's Room, Glasgow School of Art (Version 5)
Low-back armchair for the Director's Room, Glasgow School of Art (Version 6)
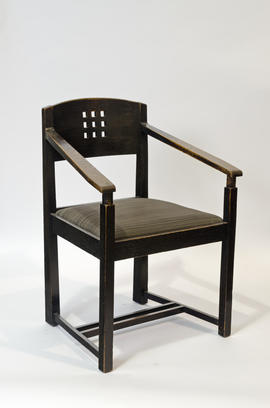
Low-backed armchair for Board Room, Glasgow School of Art
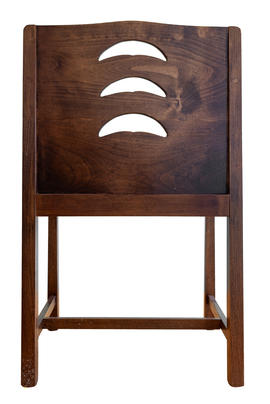
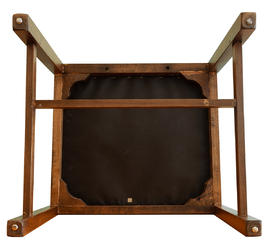
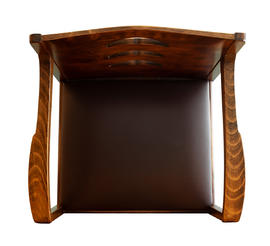
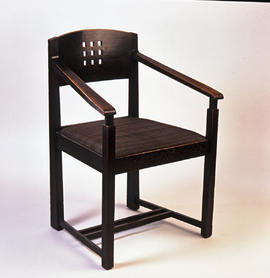
Low-backed armchair for the Director's Room, Glasgow School of Art
Low-backed armchair for the Director's Room, Glasgow School of Art
Mirror for Windyhill (Version 1)
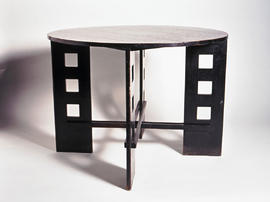
Round table for Willow Tea Rooms
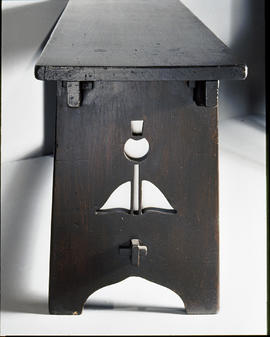
Schoolroom bench for Gladsmuir

Settle for the Willow Tea Rooms (Version 1)
Smoker's cabinet for Mains Street (Version 1)
Square table for Hous'hill
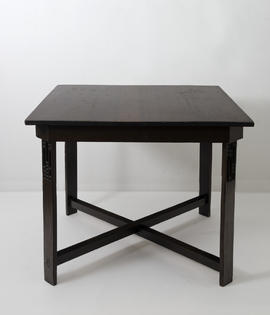
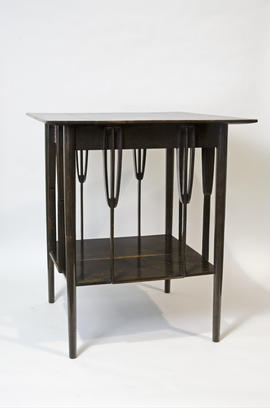
Table for the Library, Glasgow School of Art (Version 1)
Upholstered armchair for Argyle Street Tea Rooms (Version 1)
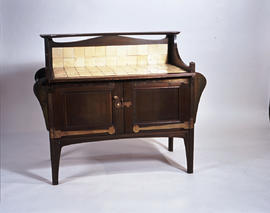
Washstand for Guthrie and Wells
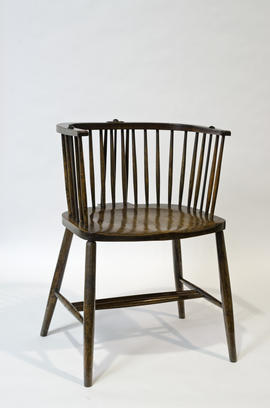
Windsor chair for the Library, Glasgow School of Art
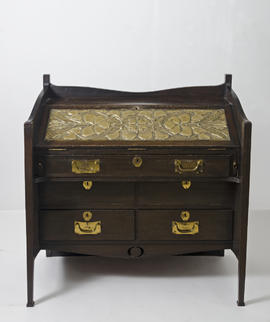
Writing desk for Gladsmuir (Version 1)
Writing desk for Gladsmuir (Version 2)
Writing desk for Gladsmuir (Version 3)