Mackintosh Art, Design and Architecture Collection
Mackintosh Art, Design and Architecture Collection
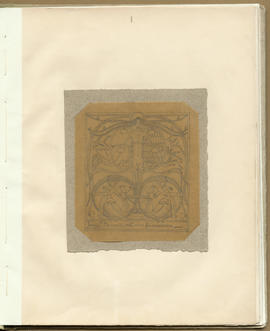
Design for a Bookplate for Lucy Raeburn
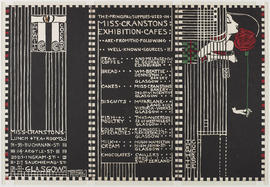
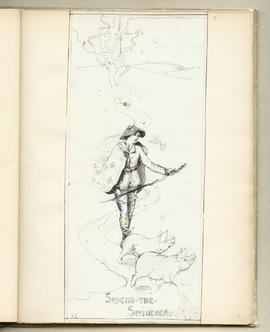
Menu for Miss Cranston's exhibition cafe, The White Cockade
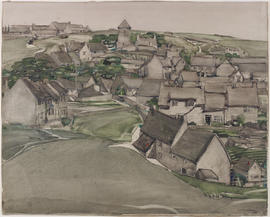
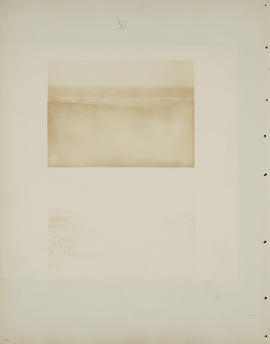
The Village, Worth Matravers
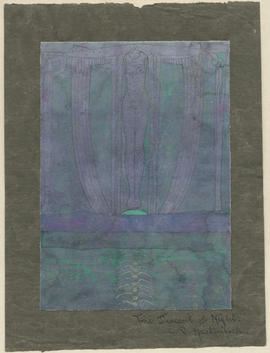
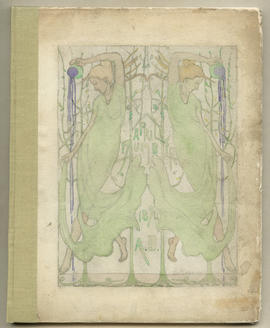
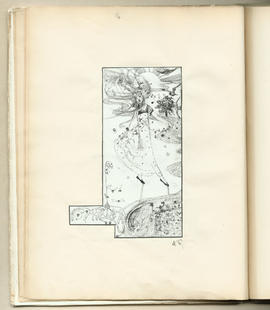
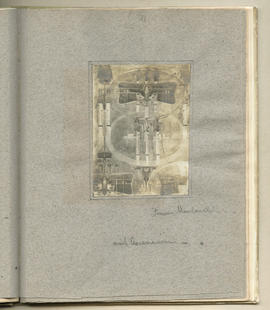
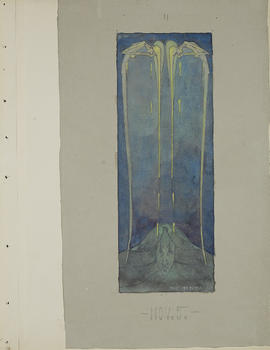
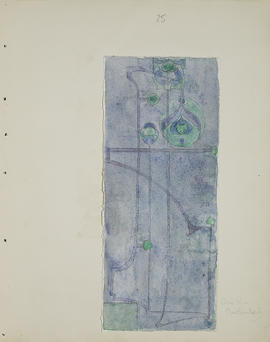
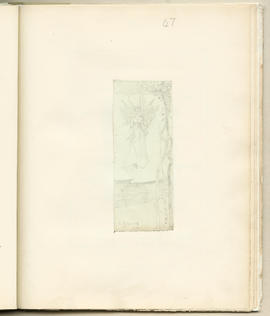
The Descent of Night
Graphic Works
Graphic Works
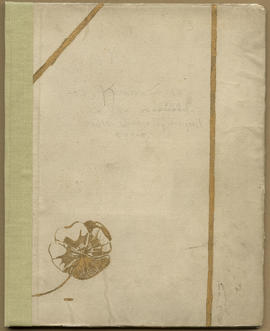
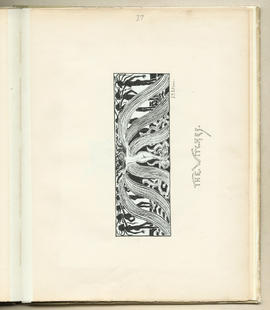
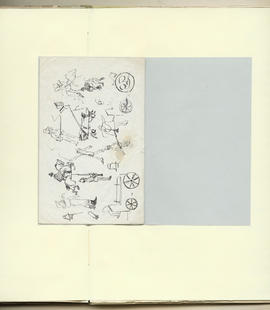
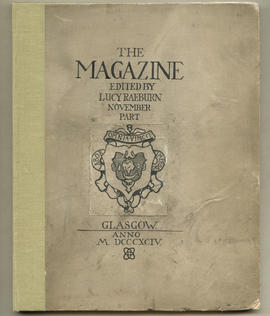
The Magazine
The Magazine
The Magazine: Volume 1 (Page 1)
The Magazine: Volume 1 (Page 4)
The Magazine: Volume 1 (Page 15)
The Magazine: Volume 1 (Page 24)

The Magazine: Volume 1 (Page 32)
The Magazine: Volume 1 (Page 35)
The Magazine: Volume 2 (Page 1)
The Magazine: Volume 2 (Page 9)
The Magazine: Volume 2 (Page 12)
The Magazine: Volume 2 (Page 13)
The Magazine: Volume 2 (Page 16)
The Magazine: Volume 2 (Page 21)
The Magazine: Volume 2 (Page 24)
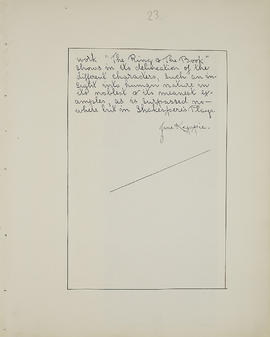
The Magazine: Volume 2 (Page 28)
The Magazine: Volume 2 (Page 38)
The Magazine: Volume 2 (Page 39)
The Magazine: Volume 2 (Page 43)
The Magazine: Volume 2 (Page 44)
The Magazine: Volume 2 (Page 47)
The Magazine: Volume 2 (Page 51)
The Magazine: Volume 2 (Page 53)
The Magazine: Volume 2 (Page 60)
The Magazine: Volume 2 (Page 64)

The Magazine: Volume 2 (Page 65)
The Magazine: Volume 3 (Page 1)
The Magazine: Volume 3 (Page 5)
The Magazine: Volume 3 (Page 16)
The Magazine: Volume 3 (Page 17)
The Magazine: Volume 3 (Page 23)
The Magazine: Volume 3 (Page 29)
The Magazine: Volume 3 (Page 31)
The Magazine: Volume 3 (Page 32)
The Magazine: Volume 3 (Page 34)
The Magazine: Volume 3 (Page 36)
The Magazine: Volume 3 (Page 42)
The Magazine: Volume 3 (Page 53)
The Magazine: Volume 3 (Page 54)
The Magazine: Volume 3 (Page 56)
The Magazine: Volume 3 (Page 60)
The Magazine: Volume 3 (Page 63)
Associated Works
Associated Works
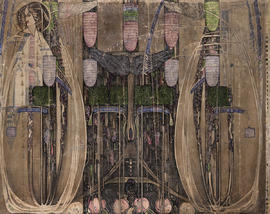
Wall hanging designed for The Dug-Out, Willow Tea Rooms, Glasgow
The Magazine: Volume 1 (Page 6)