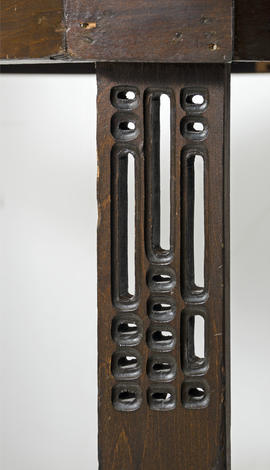
Table for the Library, Glasgow School of Art (Version 2)
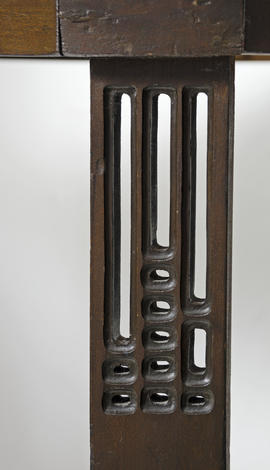
Table for the Library, Glasgow School of Art (Version 4)
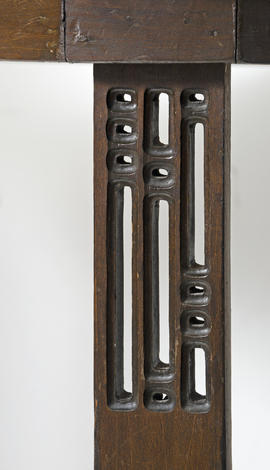
Table for the Library, Glasgow School of Art (Version 5)

Table for the Library, Glasgow School of Art (Version 3)
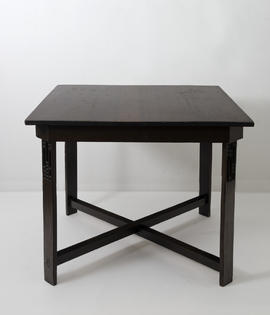
Table for the Library, Glasgow School of Art (Version 1)
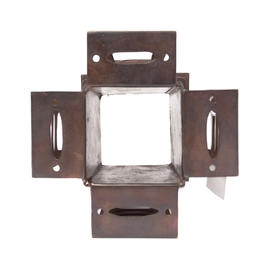
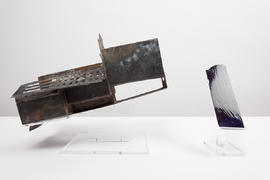
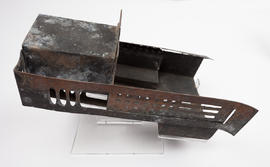
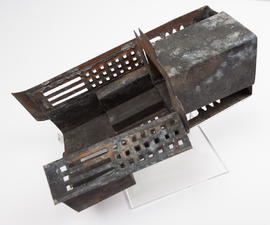
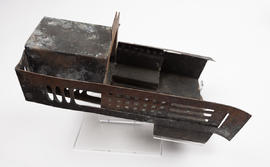
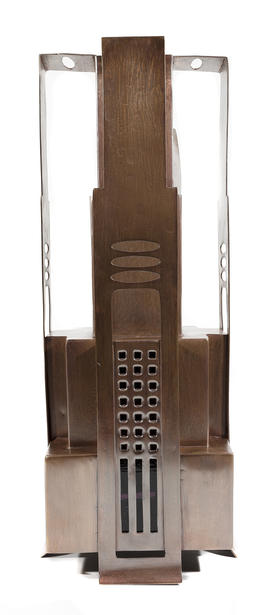
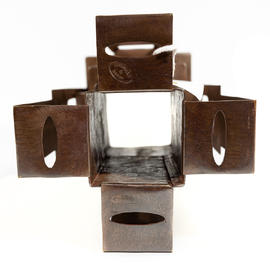
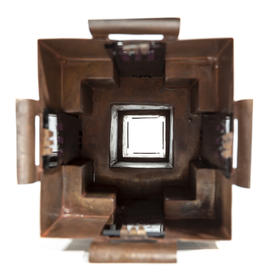
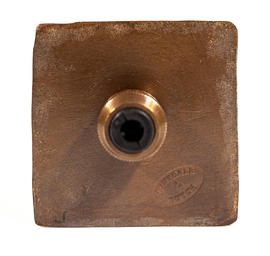
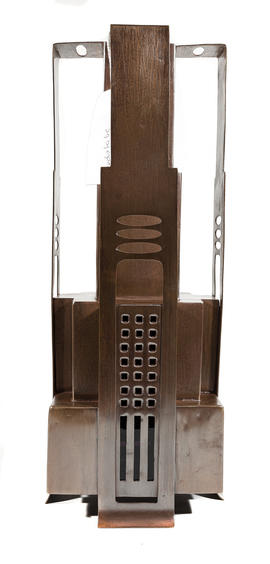
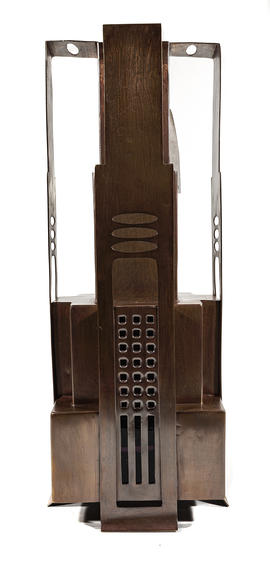
Lampshade for Library, Glasgow School of Art - Medium Canister (Version 4)

Glasgow School of Art Club invitation card (Version 2)
Lampshade for Library, Glasgow School of Art - Medium Canister (Version 2)
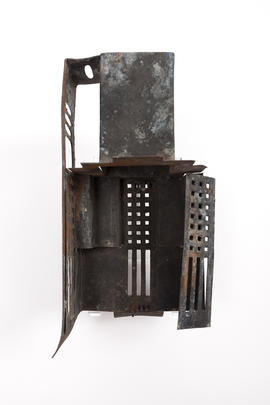
Lampshade for Library, Glasgow School of Art - Medium Canister (Version 6)
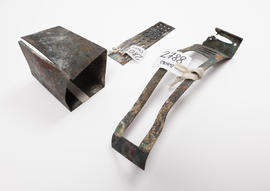
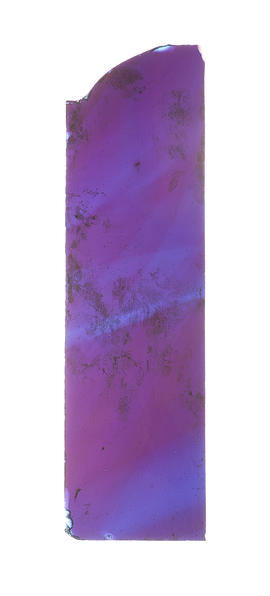
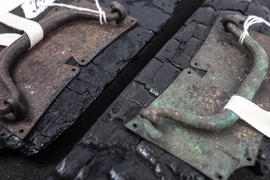
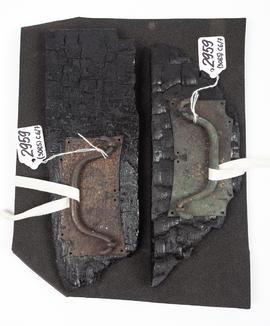
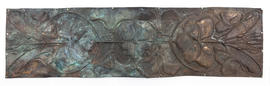
Fragments of lampshade(s) for Library, Glasgow School of Art (Version 4)
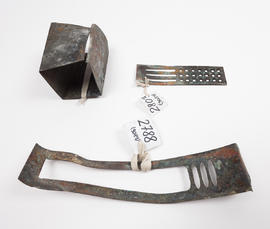
Fragments of lampshade(s) for Library, Glasgow School of Art (Version 5)
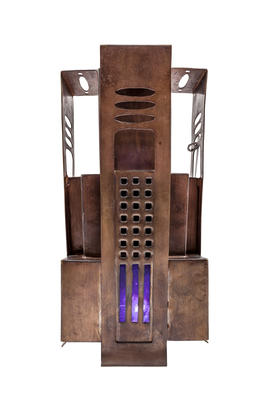
Lampshade for Library, Glasgow School of Art - Medium Canister (Version 1)
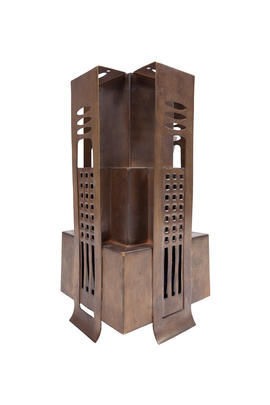
Lampshade for Library, Glasgow School of Art - Medium Canister (Version 3)
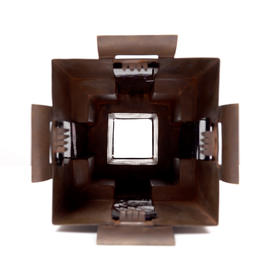
Lampshade for Library, Glasgow School of Art - Medium Canister (Version 5)

Lampshade for Library, Glasgow School of Art - Medium Canister (Version 3)
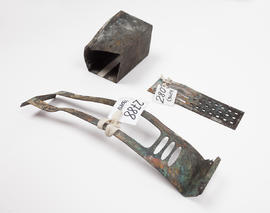
Fragments of lampshade(s) for Library, Glasgow School of Art (Version 3)
Lampshade for Library, Glasgow School of Art - Medium Canister (Version 1)
Lampshade for Library, Glasgow School of Art - Medium Canister (Version 4)
Lampshade for Library, Glasgow School of Art - Medium Canister (Version 5)
Lampshade for Library, Glasgow School of Art - Medium Canister (Version 7)
Lampshade for Library, Glasgow School of Art - Medium Canister (Version 8)
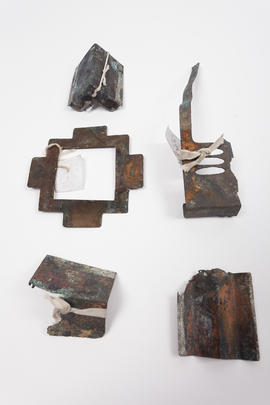
Fragments of lampshade(s) for Library, Glasgow School of Art (Version 7)
Lampshade for Library, Glasgow School of Art - Medium Canister (Version 2)
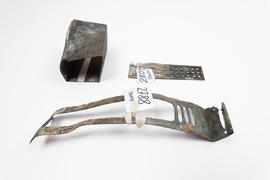
Fragments of lampshade(s) for Library, Glasgow School of Art (Version 2)
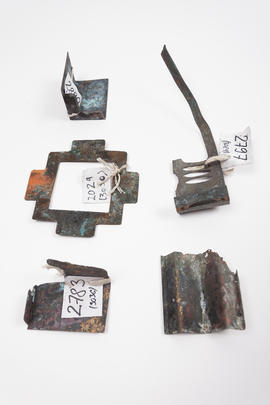
Fragments of lampshade(s) for Library, Glasgow School of Art (Version 6)

Glasgow School of Art Club invitation card (Version 1)
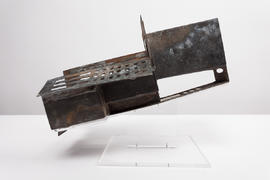
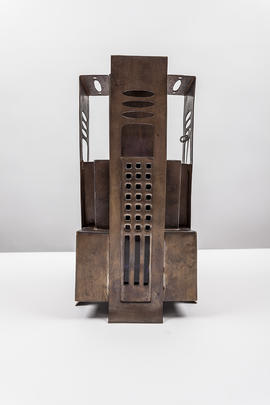
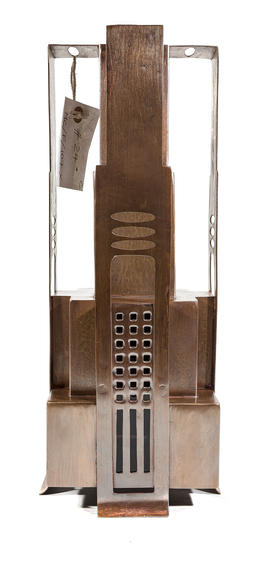
Lampshade for Library, Glasgow School of Art: Central Cluster- Composite Large Pendant (Version 1)
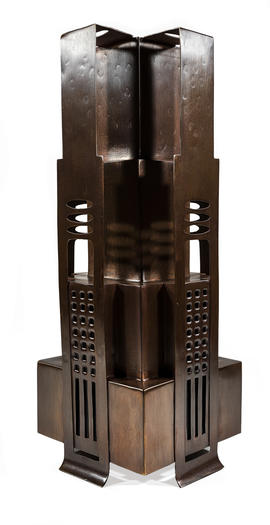
Lampshade for Library, Glasgow School of Art: Central Cluster- Composite Large Pendant (Version 2)
Lampshade for Library, Glasgow School of Art: Central Cluster- Composite Large Pendant (Version 6)
Lampshade for Library, Glasgow School of Art: Central Cluster- Composite Large Pendant (Version 3)
Lampshade for Library, Glasgow School of Art: Central Cluster- Composite Large Pendant (Version 7)
Lampshade for Library, Glasgow School of Art: Central Cluster- Composite Large Pendant (Version 9)
Lampshade for Library, Glasgow School of Art: Central Cluster- Composite Large Pendant (Version 4)
Lampshade for Library, Glasgow School of Art: Central Cluster- Composite Large Pendant (Version 5)

Lampshade for Library, Glasgow School of Art: Central Cluster- Composite Large Pendant (Version 8)
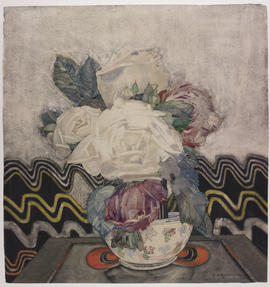
White Roses (Version 1)
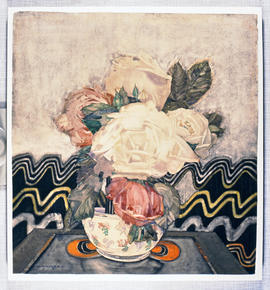
White Roses (Version 2)
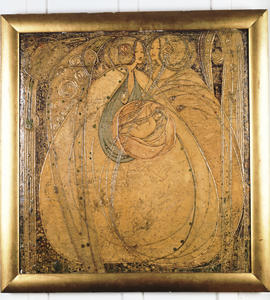
Heart of the Rose (Version 1)
Writing desk for Gladsmuir (Version 3)

Writing desk for Gladsmuir (Version 6)
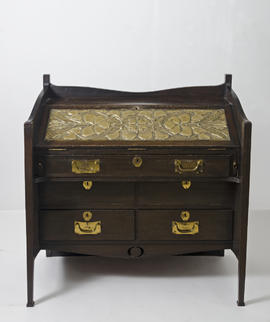
Writing desk for Gladsmuir (Version 1)
Writing desk for Gladsmuir (Version 2)

Writing desk for Gladsmuir (Version 5)

Writing desk for Gladsmuir (Version 4)
Writing desk for Gladsmuir (Version 7)
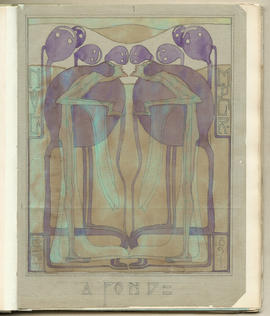
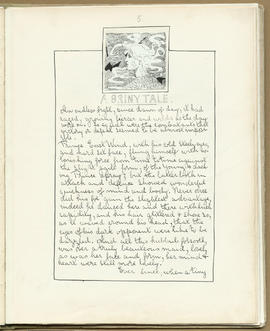
The Magazine: Volume 3 (Page 7)
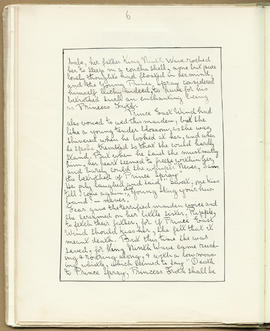
The Magazine: Volume 1 (Page 6)
The Magazine: Volume 1 (Page 8)
The Magazine: Volume 1 (Page 9)
The Magazine: Volume 1 (Page 10)