Showing 77 results
Archival description77 results with digital objects Show results with digital objects
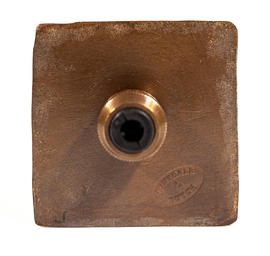
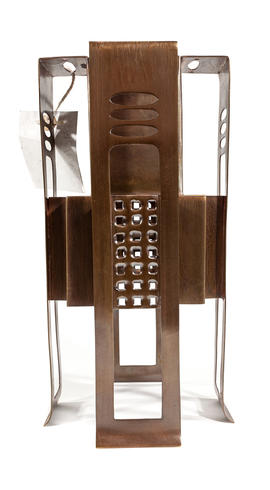
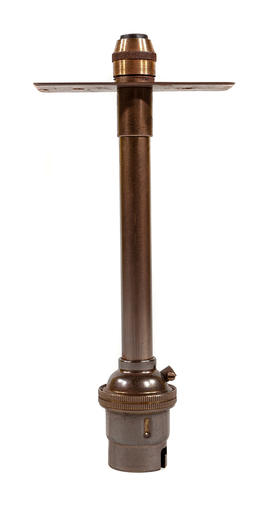
Lampshade for Library, Glasgow School of Art: Central Cluster- Reconstructed Small Canister (Version 1)
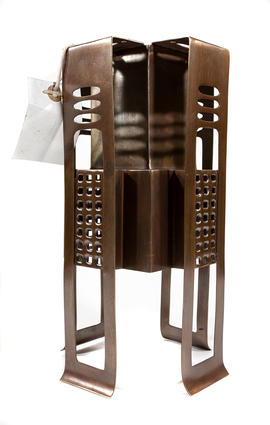
Lampshade for Library, Glasgow School of Art: Central Cluster- Reconstructed Small Canister (Version 2)
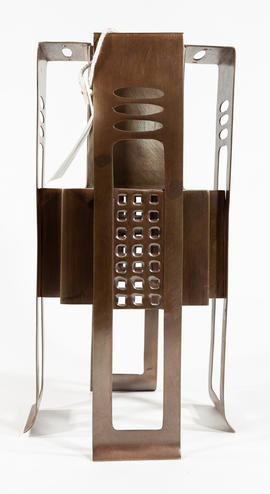
Lampshade for Library, Glasgow School of Art: Central Cluster- Reconstructed Small Canister (Version 3)
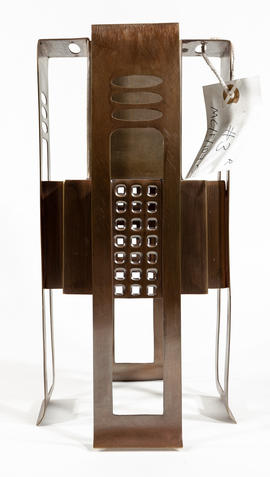
Lampshade for Library, Glasgow School of Art: Central Cluster- Reconstructed Small Canister (Version 4)
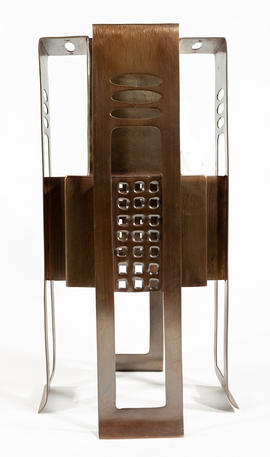
Lampshade for Library, Glasgow School of Art: Central Cluster- Reconstructed Small Canister (Version 5)
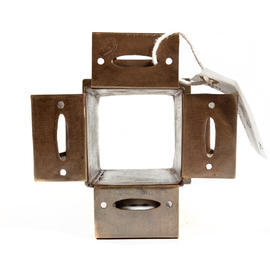
Lampshade for Library, Glasgow School of Art: Central Cluster- Reconstructed Small Canister (Version 6)
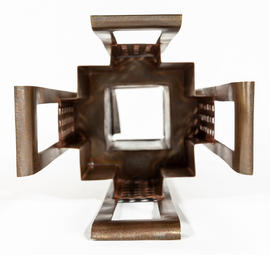
Lampshade for Library, Glasgow School of Art: Central Cluster- Reconstructed Small Canister (Version 7)


Results 51 to 77 of 77
- « Previous
- 1
- 2