Showing 205 results

Archival description
Mackintosh Art, Design and Architecture Collection Mackintosh, Charles Rennie Part Design (arts) With digital objects
Print preview View:
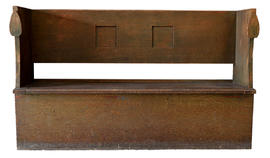
Bench for Windyhill (Version 1)
Bench for Windyhill (Version 2)
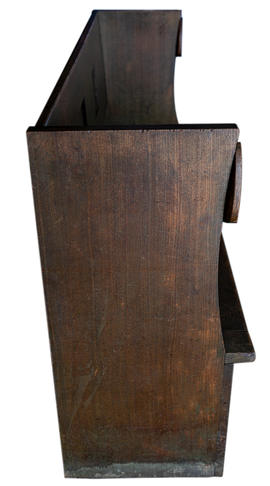
Bench for Windyhill (Version 3)
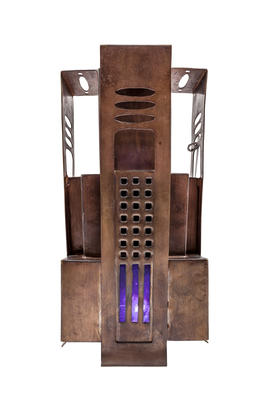
Coat of Arms for the stairwell at Glasgow School of Art (Version 1)
Coat of Arms for the stairwell at Glasgow School of Art (Version 2)
Coat of Arms for the stairwell at Glasgow School of Art (Version 3)
Coat of Arms for the stairwell at Glasgow School of Art (Version 4)
Coat of Arms for the stairwell at Glasgow School of Art (Version 5)
Coat of Arms for the stairwell at Glasgow School of Art (Version 6)
Coat of Arms for the stairwell at Glasgow School of Art (Version 7)
Coat of Arms for the stairwell at Glasgow School of Art (Version 8)
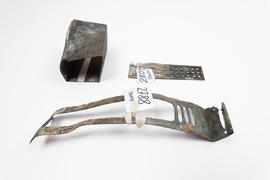
Fragments of lampshade(s) for Library, Glasgow School of Art (Version 2)
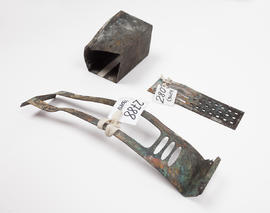
Fragments of lampshade(s) for Library, Glasgow School of Art (Version 3)
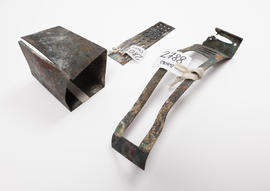
Fragments of lampshade(s) for Library, Glasgow School of Art (Version 4)
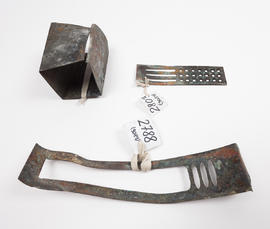
Fragments of lampshade(s) for Library, Glasgow School of Art (Version 5)
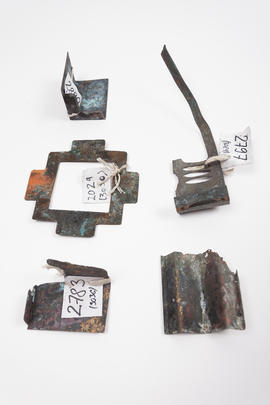
Fragments of lampshade(s) for Library, Glasgow School of Art (Version 6)
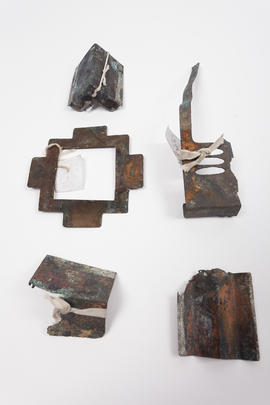
Fragments of lampshade(s) for Library, Glasgow School of Art (Version 7)
Glasgow School of Art Club invitation card (Version 1)
Glasgow School of Art Club invitation card (Version 2)
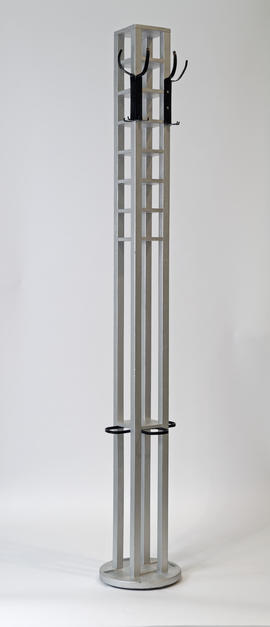
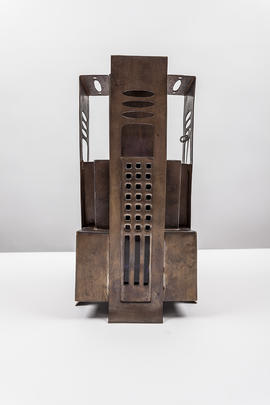
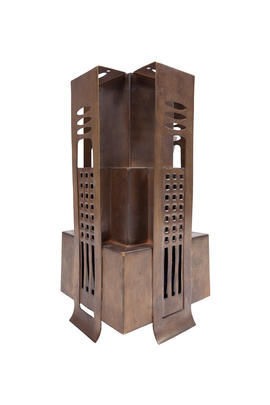
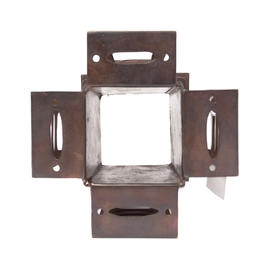
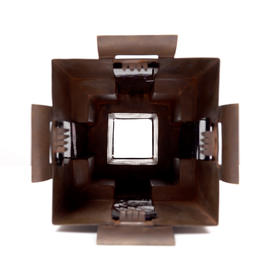
Hat, coat and umbrella stand for the Room de Luxe, Willow Tea Rooms (Version 1)
Hat, coat and umbrella stand for the Room de Luxe, Willow Tea Rooms (Version 2)
Hat, coat and umbrella stand for the Room de Luxe, Willow Tea Rooms (Version 3)
Hat, coat and umbrella stand for the Room de Luxe, Willow Tea Rooms (Version 4)
Lampshade for Library, Glasgow School of Art - Medium Canister (Version 1)
Lampshade for Library, Glasgow School of Art - Medium Canister (Version 2)
Lampshade for Library, Glasgow School of Art - Medium Canister (Version 3)
Lampshade for Library, Glasgow School of Art - Medium Canister (Version 4)
Lampshade for Library, Glasgow School of Art - Medium Canister (Version 5)
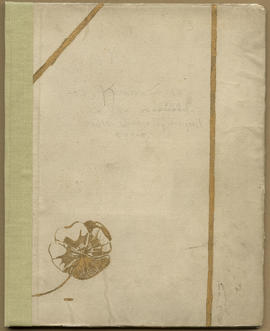
The Magazine: Volume 1 (Page 1)
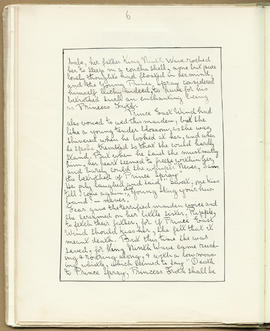
The Magazine: Volume 1 (Page 10)
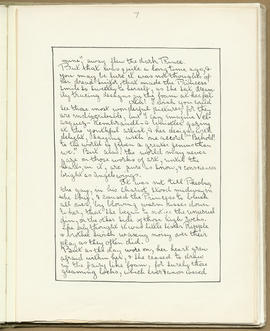
The Magazine: Volume 1 (Page 11)
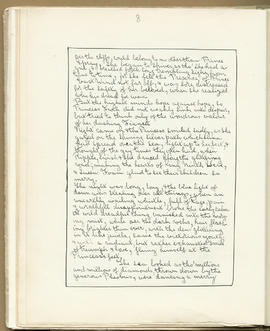
The Magazine: Volume 1 (Page 12)
The Magazine: Volume 1 (Page 13)
The Magazine: Volume 1 (Page 14)
The Magazine: Volume 1 (Page 15)
The Magazine: Volume 1 (Page 16)
The Magazine: Volume 1 (Page 17)
The Magazine: Volume 1 (Page 18)
The Magazine: Volume 1 (Page 19)
The Magazine: Volume 1 (Page 2)
The Magazine: Volume 1 (Page 20)
The Magazine: Volume 1 (Page 21)
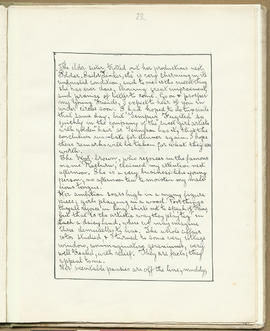
The Magazine: Volume 1 (Page 22)
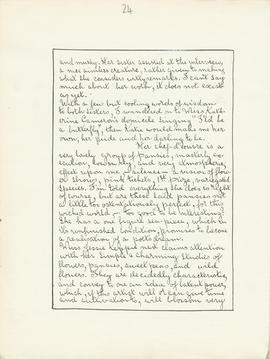
The Magazine: Volume 1 (Page 23)
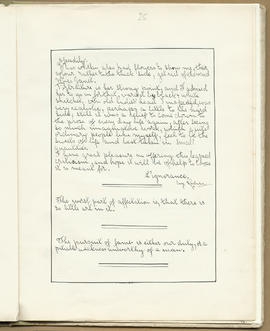
The Magazine: Volume 1 (Page 24)
The Magazine: Volume 1 (Page 25)
The Magazine: Volume 1 (Page 26)
The Magazine: Volume 1 (Page 27)
The Magazine: Volume 1 (Page 28)
The Magazine: Volume 1 (Page 29)
Results 1 to 50 of 205