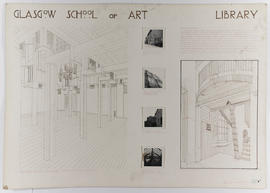
Drawing of The Glasgow School of Art Library
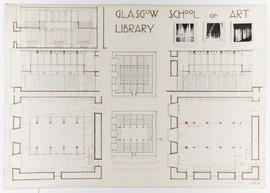
Drawing of The Glasgow School of Art Library

Drawing of The Glasgow School of Art Library
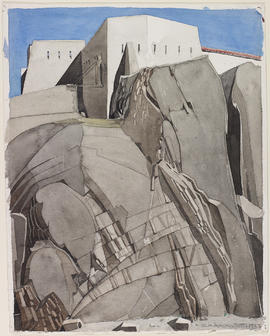
Le Fort Mailly
Slate Roofs
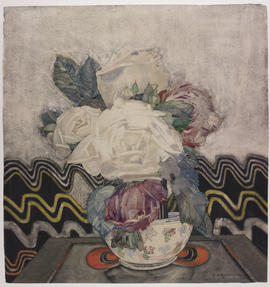
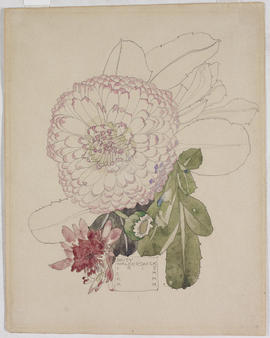
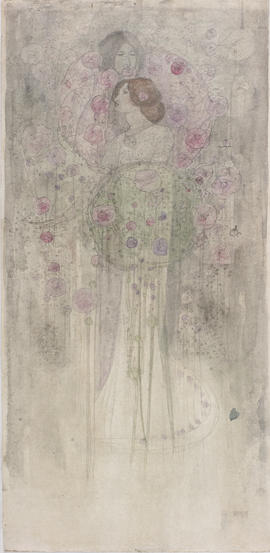
White Roses (Version 1)
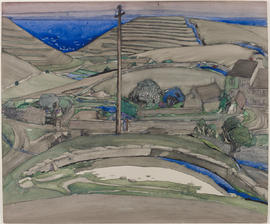
The Downs, Worth Matravers
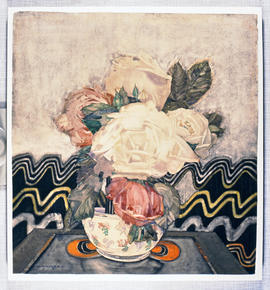
White Roses (Version 2)
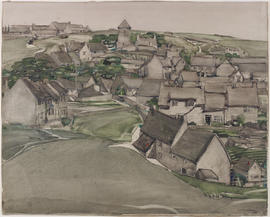
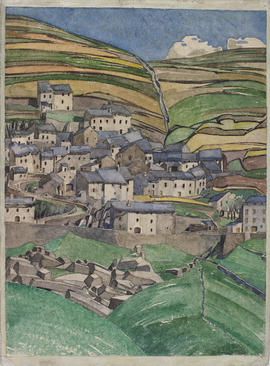
The Village, Worth Matravers
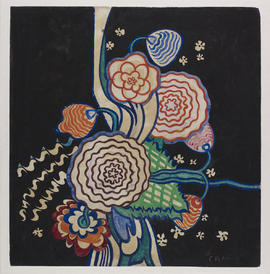
Bouquet
Daisy
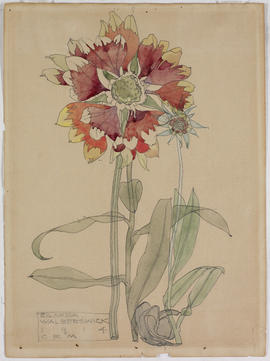
Gaillardia
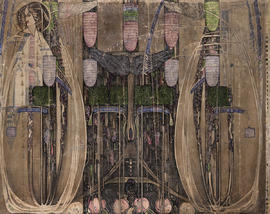
Wall hanging designed for The Dug-Out, Willow Tea Rooms, Glasgow
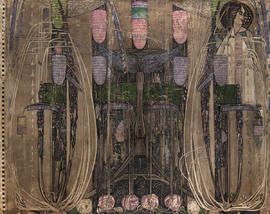
Wall hanging designed for The Dug-Out, Willow Tea Rooms, Glasgow
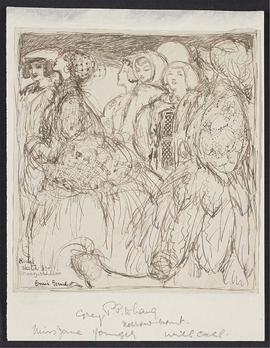
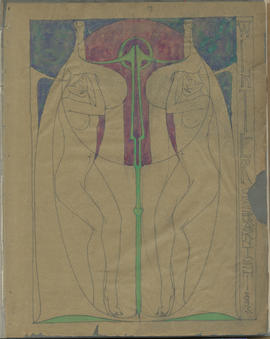
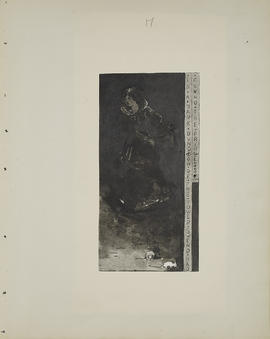
Sketch for Masqueraders
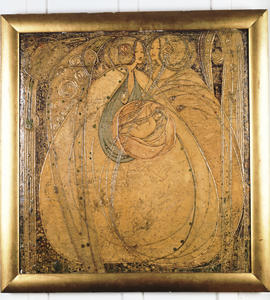
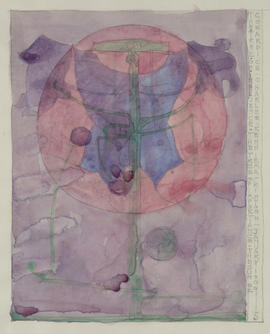
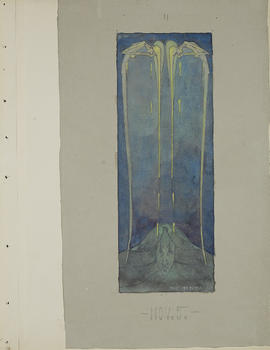
Heart of the Rose (Version 1)
Leaf of Gold
Fairies
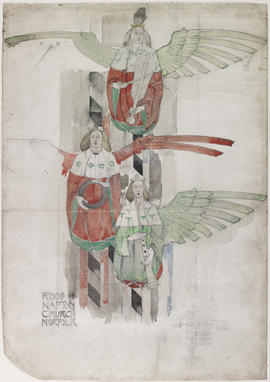
Roof of Napton Church, Norfolk
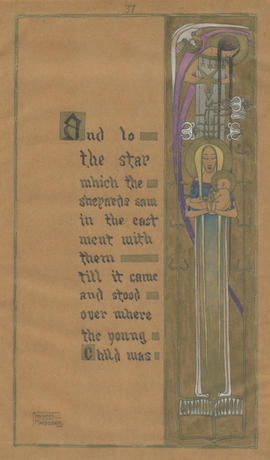
The Nativity ('And lo the star...')
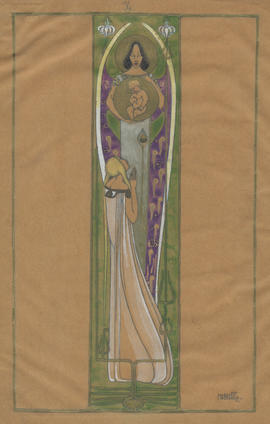
The Annunciation
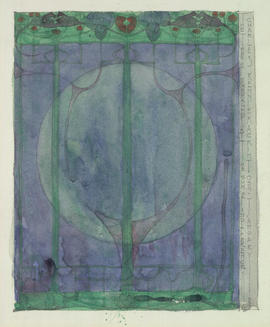
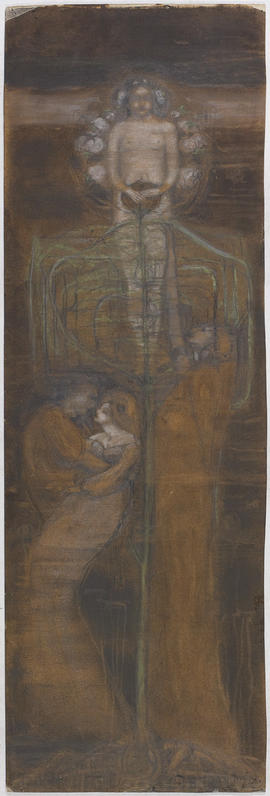
The Tree of Personal Effort
The Tree of Influence
The Shadow
Winter
The Magazine: Volume 3 (Page 2)
The Magazine: Volume 3 (Page 14)
The Magazine: Volume 3 (Page 15)
The Magazine: Volume 3 (Page 22)

The Magazine: Volume 3 (Page 26)
The Magazine: Volume 3 (Page 27)

The Magazine: Volume 3 (Page 41)
The Magazine: Volume 3 (Page 43)
The Magazine: Volume 3 (Page 44)
The Magazine: Volume 3 (Page 46)
The Magazine: Volume 3 (Page 48)
The Magazine: Volume 3 (Page 52)
The Magazine: Volume 3 (Page 55)
The Magazine: Volume 3 (Page 57)
The Magazine: Volume 3 (Page 62)
The Magazine: Volume 3 (Page 65)
The Magazine: Volume 3 (Page 69)
The Magazine: Volume 3 (Page 1)
The Magazine: Volume 3 (Page 5)
The Magazine: Volume 3 (Page 16)
The Magazine: Volume 3 (Page 17)
The Magazine: Volume 3 (Page 23)
The Magazine: Volume 3 (Page 29)
The Magazine: Volume 3 (Page 31)
The Magazine: Volume 3 (Page 32)